


Have you ever wanted to take photos of your own family, but struggle to know where to start? You’re in the right place, my friend, because this guide is dedicated to helping you take incredibly special, unforgettable DIY family photos in your own home. I’ll walk you through how to find the best lighting, guide you through posing tips, and show you why it’s so important to document the small details.
Note: This guide focuses on the broader aspects of DIY family photoshoots, including lighting, angles, and posing. For more technical camera tips, keep your eye out for an upcoming blog post I’m excited for—all about how to take high-quality, expert-level family photos on your phone.

Why Take DIY Family Photos?
There are many reasons why families choose to DIY their own photos; sometimes it’s for financial reasons, or because even (especially) the moments in between formal sessions deserve to be captured.
And when I say DIY family photos, I don’t just mean pulling out your phone and snapping a few photos of your kiddos at the playground—though you should absolutely do that: I mean a space where you intentionally gather together to create memories in front of the camera to look back on forever.
DIY’ing your family photos is a wonderful option if you:
- Want or need to invest your money elsewhere in this current season of life, but still crave intentional photos together
- Have an occasion you want documented in between regular, planned sessions with your photographer
- Want to get better at documenting the little moments you experience with your family
Simply put: you deserve to hold onto these memories regardless of your budget, resources, or time constraints, and DIY family photos are a beautiful way to make that happen.
Now, let’s dive into my top 8 tips for taking DIY family photos that you’ll cherish forever and always.
8 Tips for Memorable DIY Family Photos
1. Pay attention to lighting
Lighting plays an essential role in any photo session, whether you’re DIY’ing it or not. Luckily, it’s not too difficult to get that coveted soft, natural light if you take a little time to prepare!
In the days leading up to your DIY session, I recommend paying attention to what the lighting is like in each room of your home, at different times of day. Take a quick peek in each room in the early morning, late morning, afternoon, and early evening, and notice:
- What time of day each room is at its brightest
- Any light spots that may be fun to play with in photos
- How warm or cool the light is, and how it looks on skin
Definitely snap photos of each room as you do this, so you can look back and see what each room looked like at different times of day, instead of trying to remember it all!
Make sure to also open all of your curtains and blinds, and turn off overhead lights as you do this. We want to make sure you’re seeing each room lit only by the natural sunlight, which is what will be the most flattering in your photos.
What is the best time of day for naturally-lit family photos?
For in-home (indoor) family photos, you’ll usually get the best lighting from late morning to mid-day. On a sunny day, there will be enough sunlight to light up your home, without being too harsh—and on a cloudy, overcast day, this is when the inside of your home will be brightest.
For outdoor family photos, golden hour will always be my favorite for that yummy golden glow we all know and love. Read more about the best time of day to take family photos outside here!
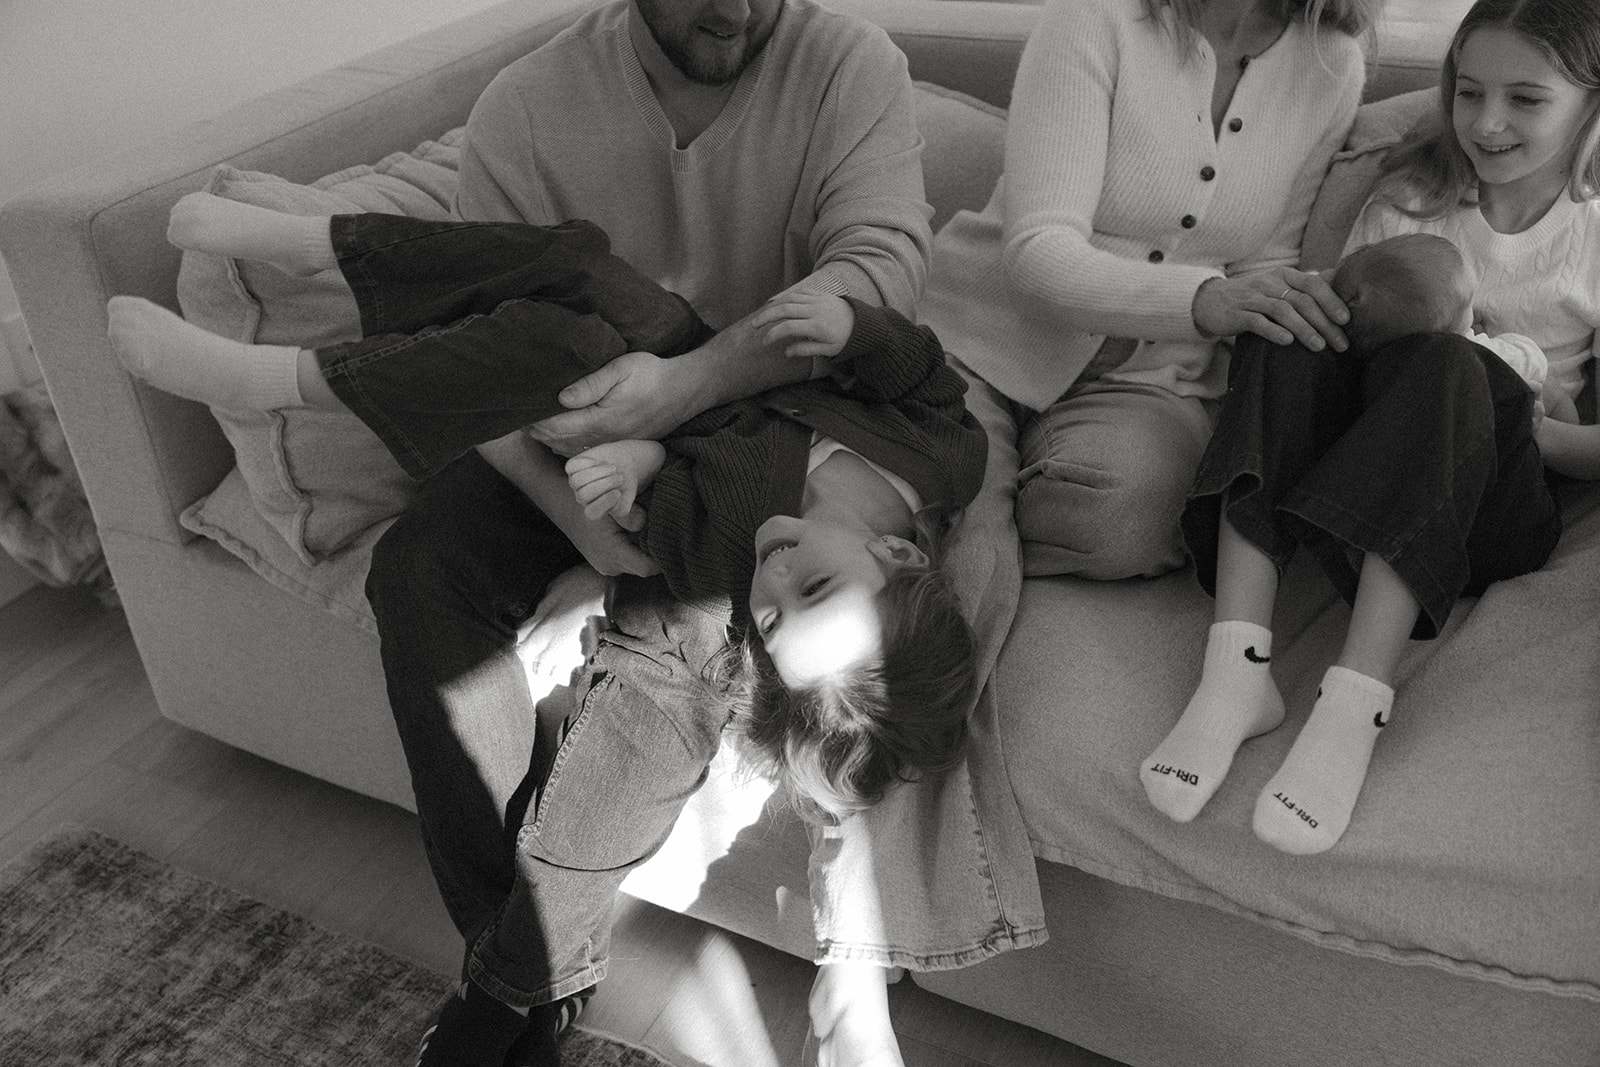
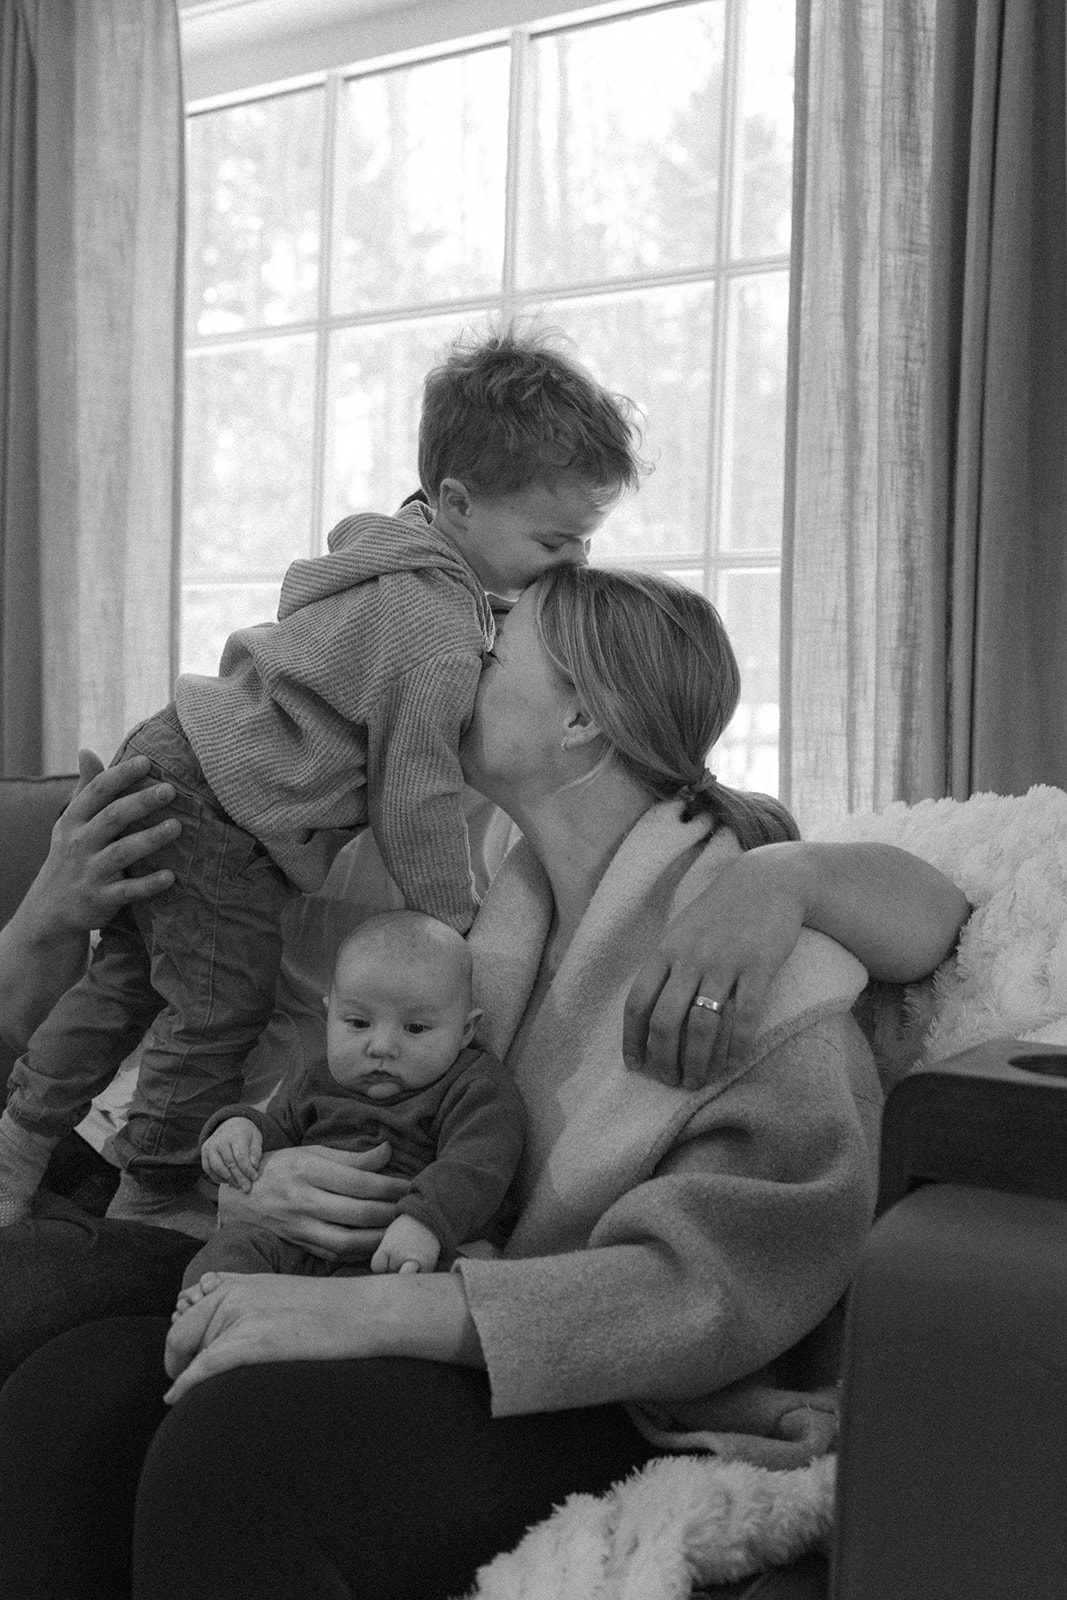
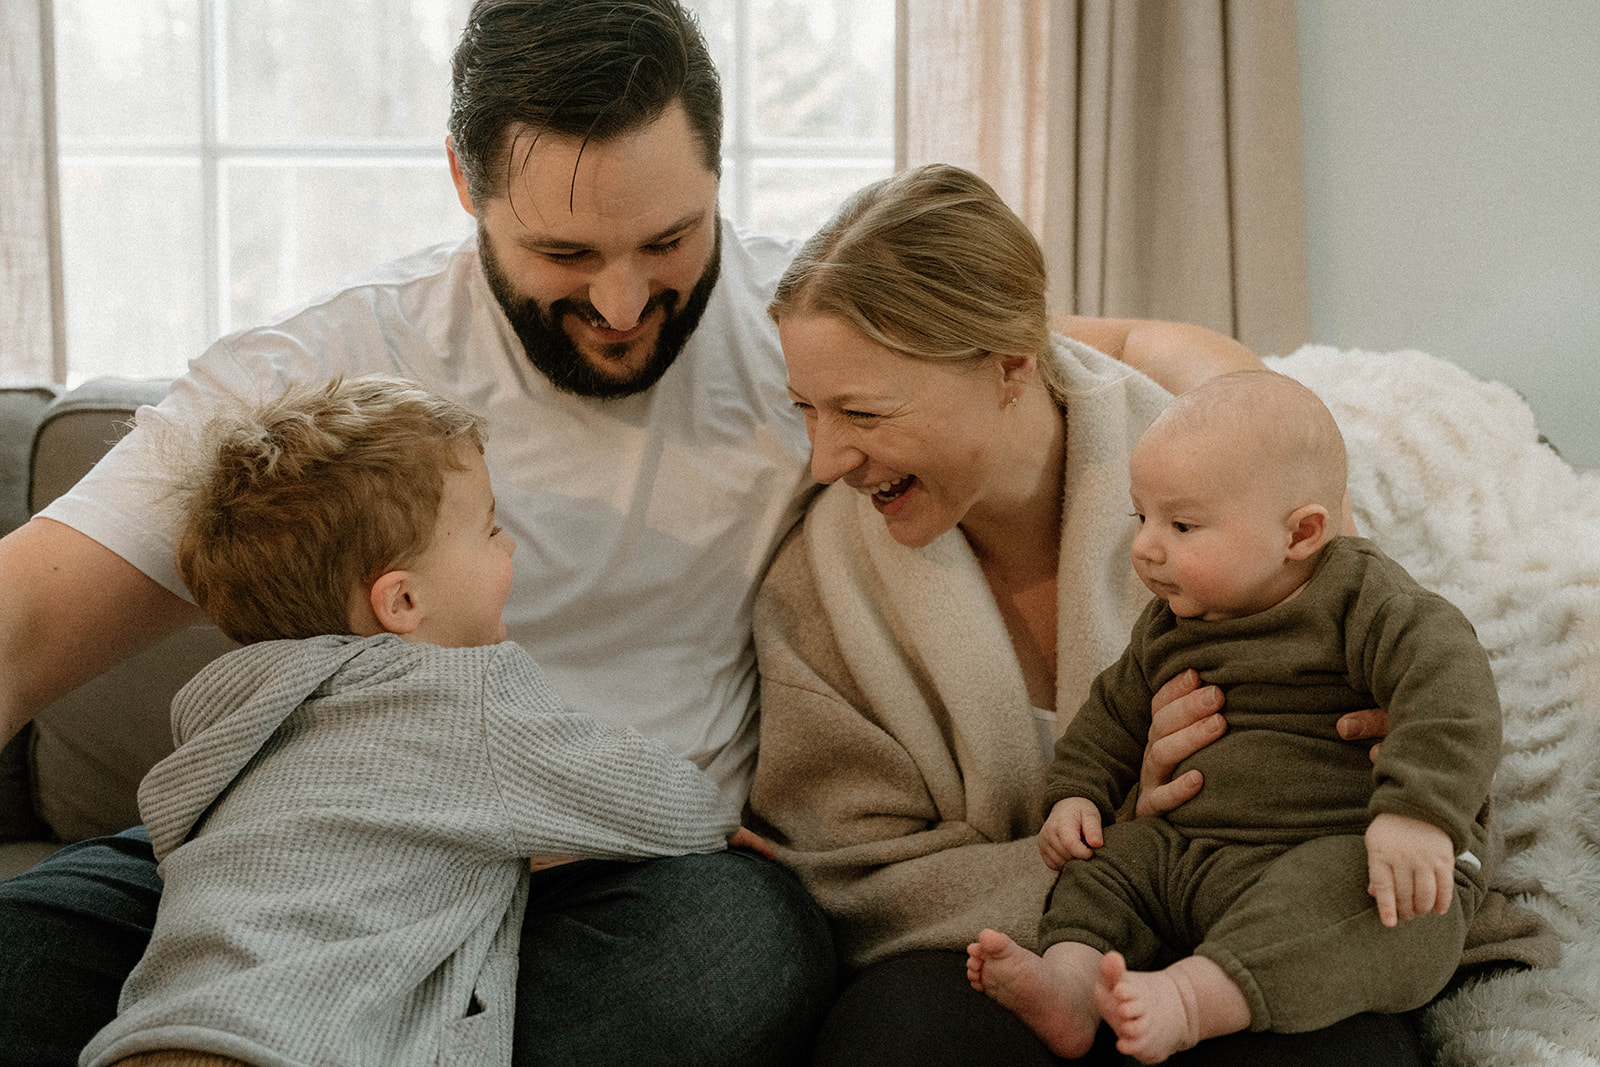
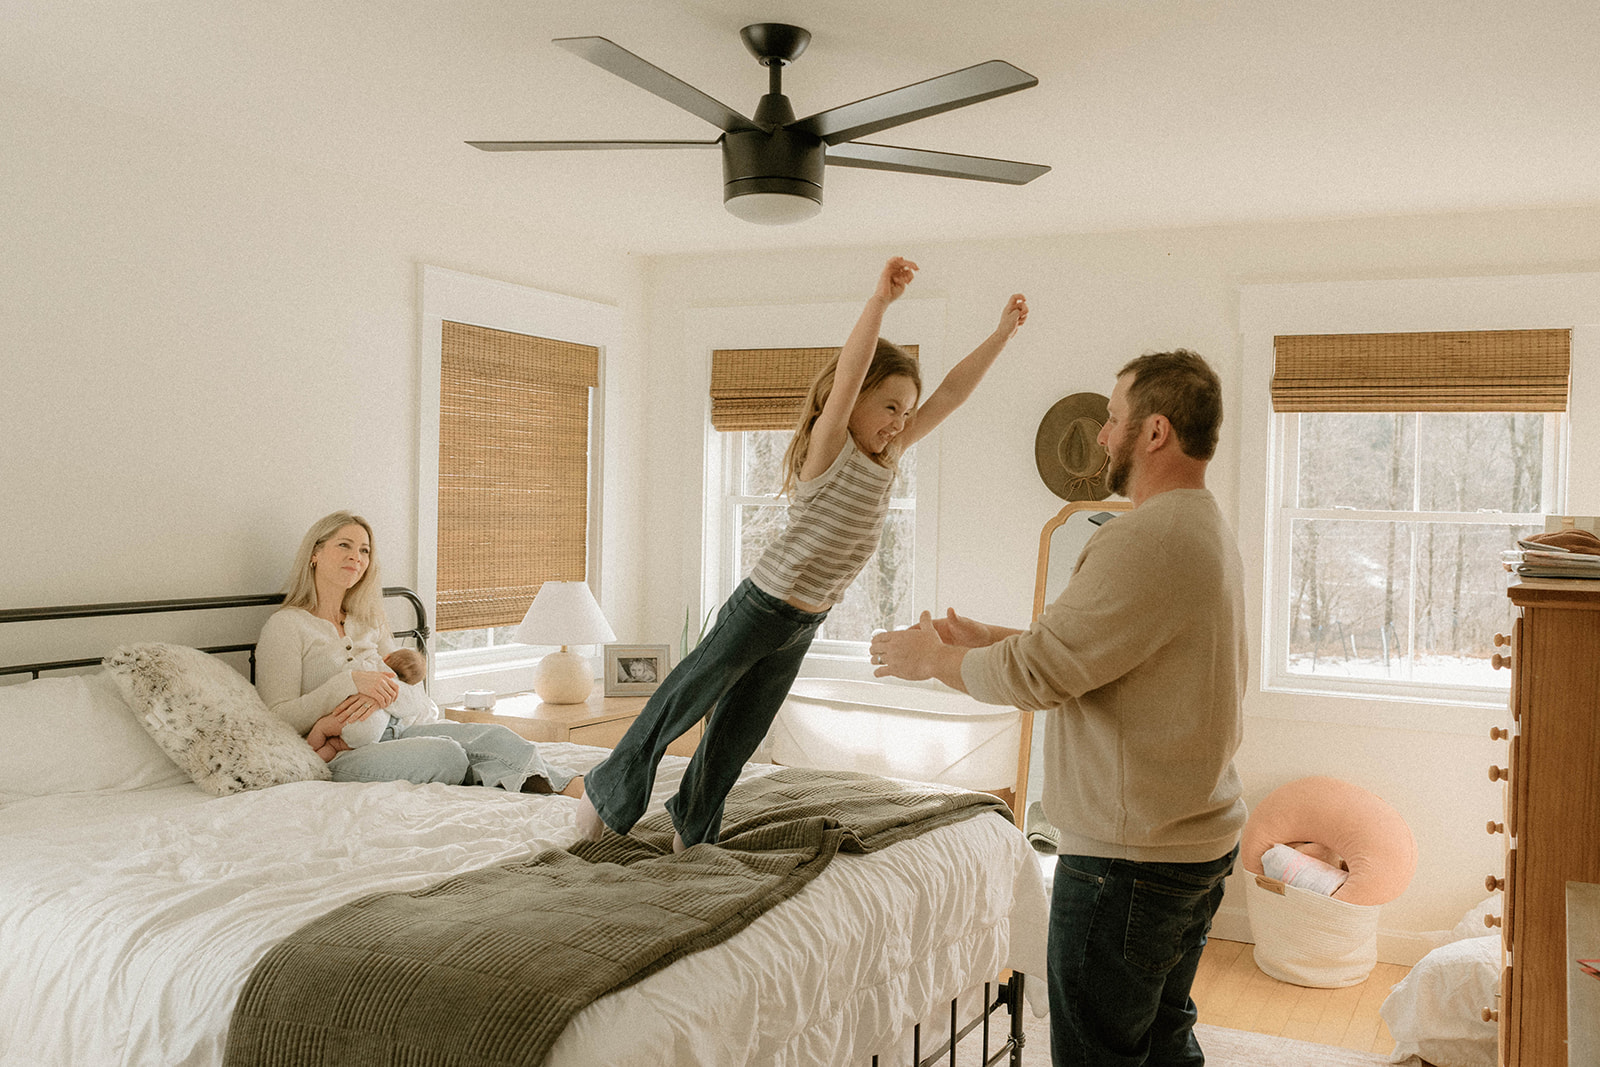
2. Pose in different groupings
When you step in front of a camera, it can be easy to automatically resort to those awkward, stiff poses you’ve seen a million times on Pinterest. Aka the same ol’ shot of your whole family sitting on a couch or standing in front of a pretty backdrop, over and over until you’re not sure what to do anymore.
Now sure, these full-fam shots are essential to documenting your entire family together. But here’s the secret to getting photos that capture a variety of interactions, dynamics, and a wider range of emotions: posing in different groupings.
Here’s a quick “shot list” you can refer back to, because it can be easy to forget what you’re doing once the camera comes out!
- Full family (obvi)
- Each parent on their own with the kiddos
- All the kiddos together
- Every kiddo on their own
- Kiddos and the pets
- Parents together
- Kiddo #1 with kiddo #2
- Kiddo #1 with kiddo #3
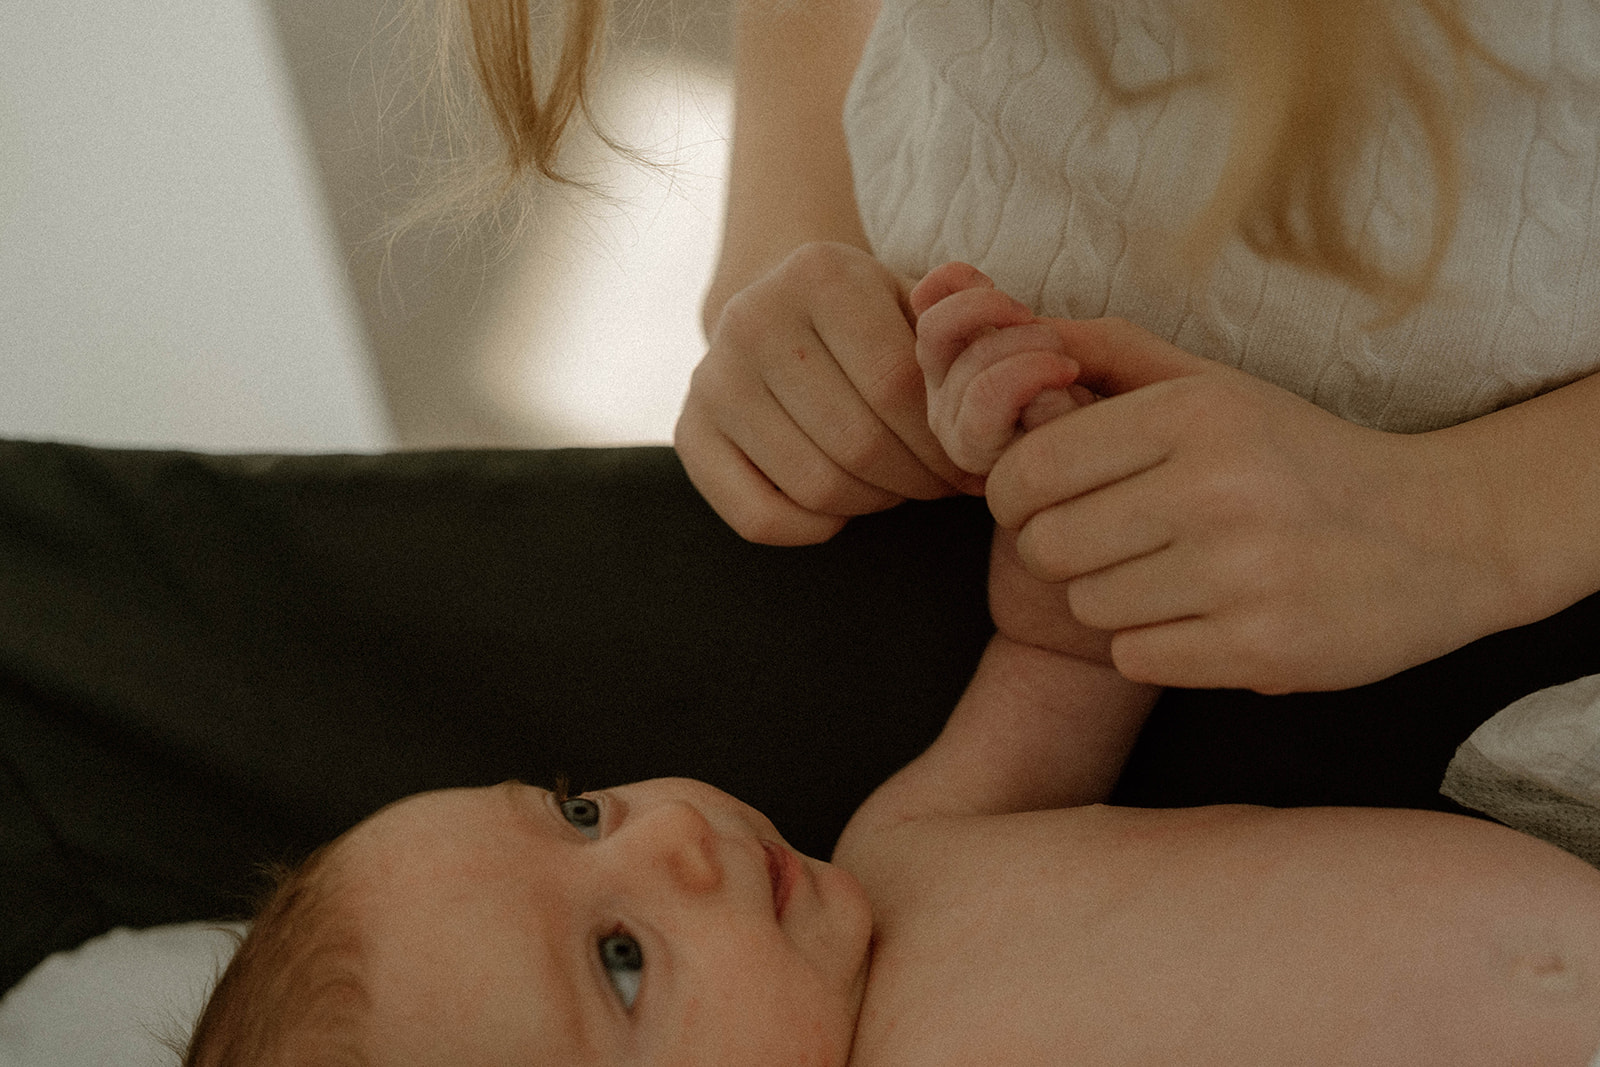
And so on, and so forth. The more you can switch up who is in front of the camera together, the more photos you’ll have that truly showcase the raw, authentic dynamics of your family unit. Maybe mama and baby have had a quiet, intimate relationship since baby’s birth, whereas mama and your 5-year-old are a bit more playful, silly, and carefree.
Don’t even get me started on how precious the photos will be of your kiddos interacting with one another, no matter their ages. Older sister holding younger brother, twin girls braiding each other’s hair, younger sister admiring older brother with doe eyes… my heart. These are the photos you’ll frame on the wall at graduation parties, weddings, and holiday dinners years down the road.
P.S. How many times can I say the word “kiddo” in one section? The limit does not seem to exist.
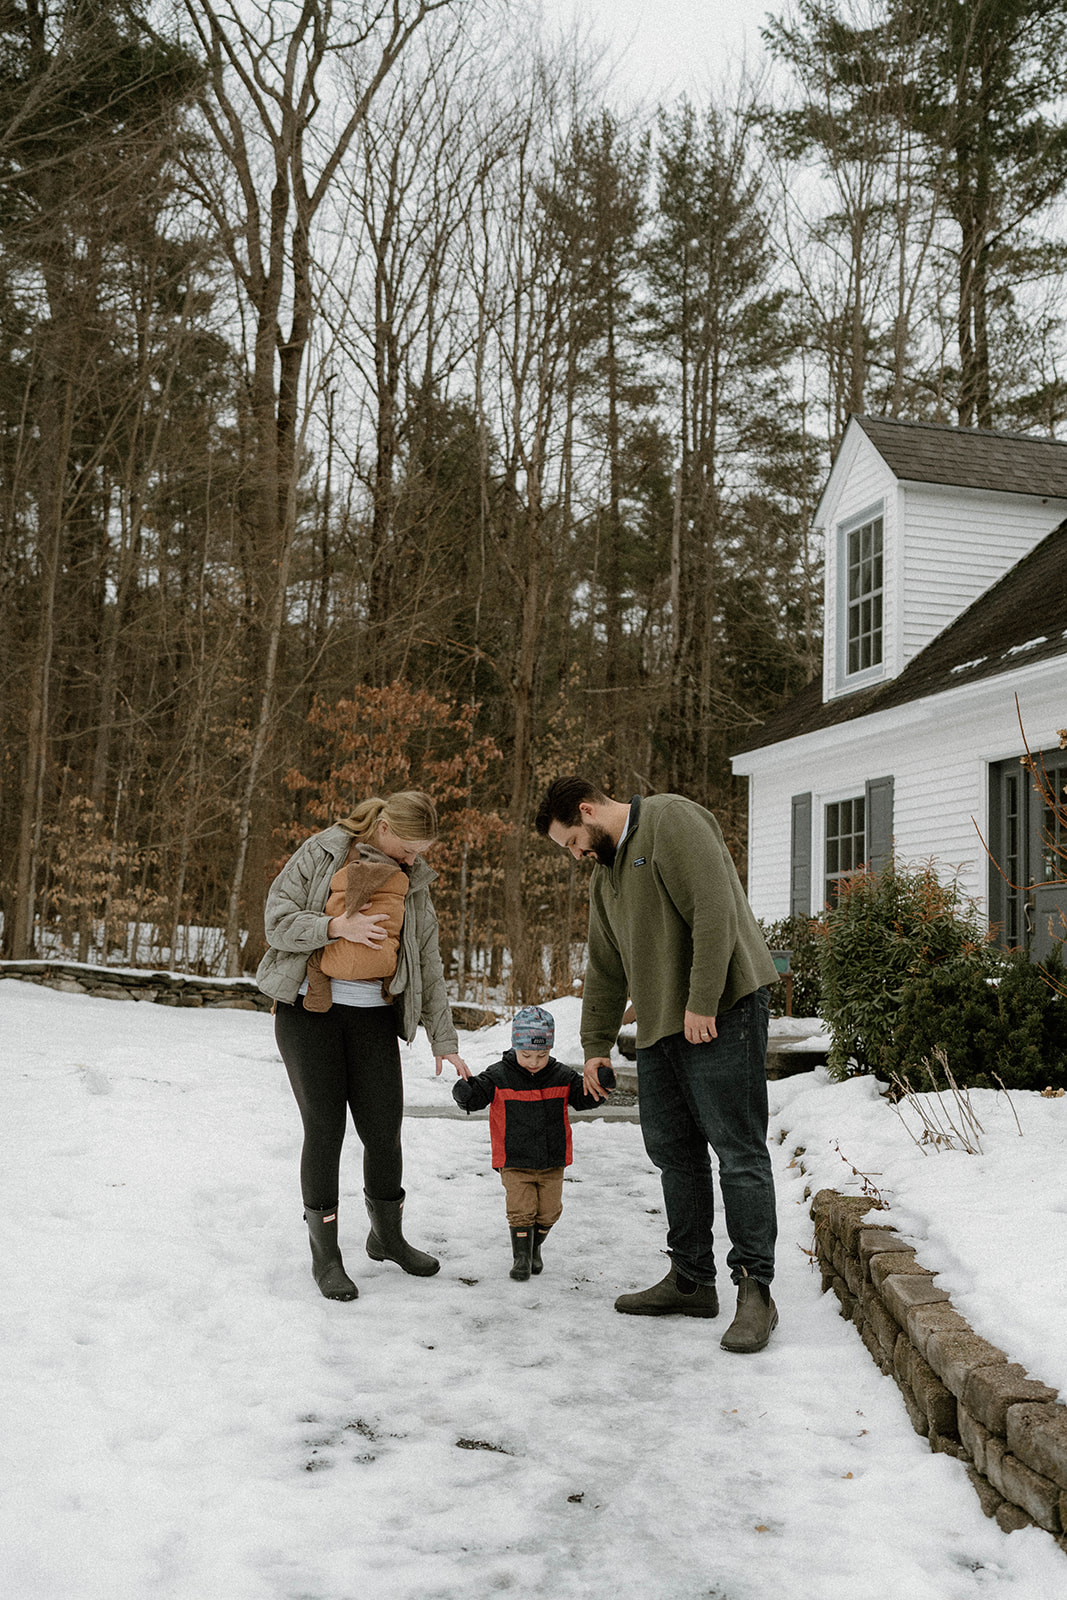
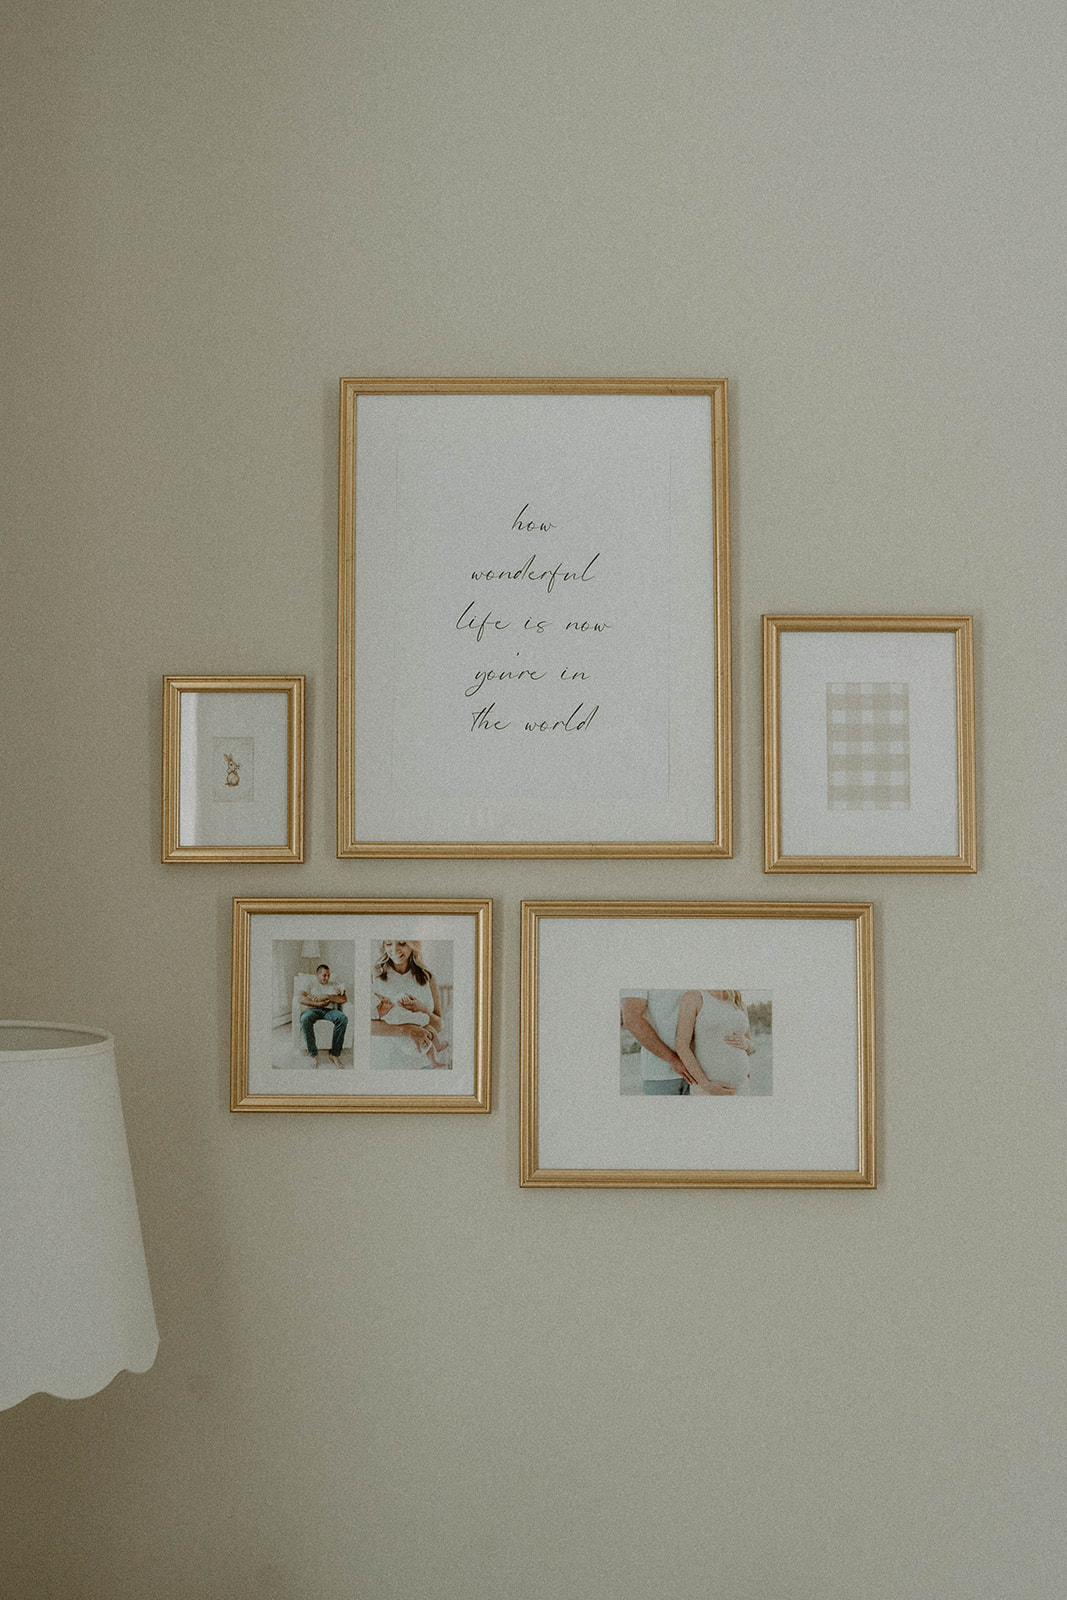
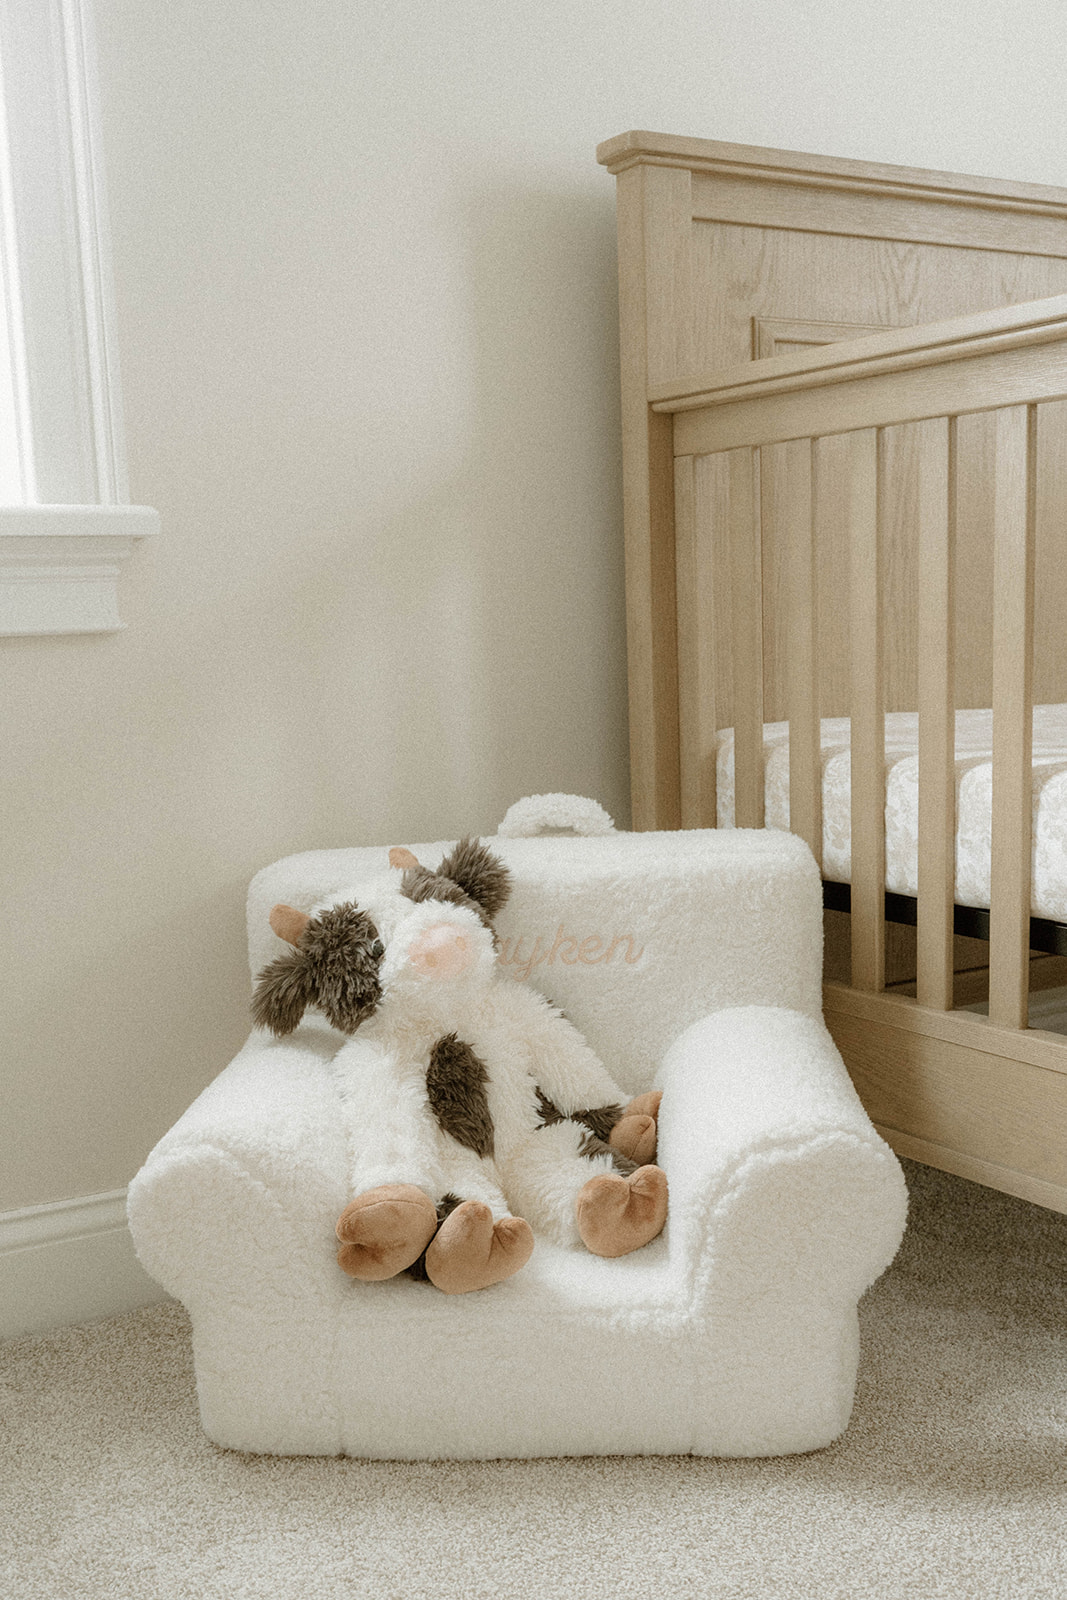
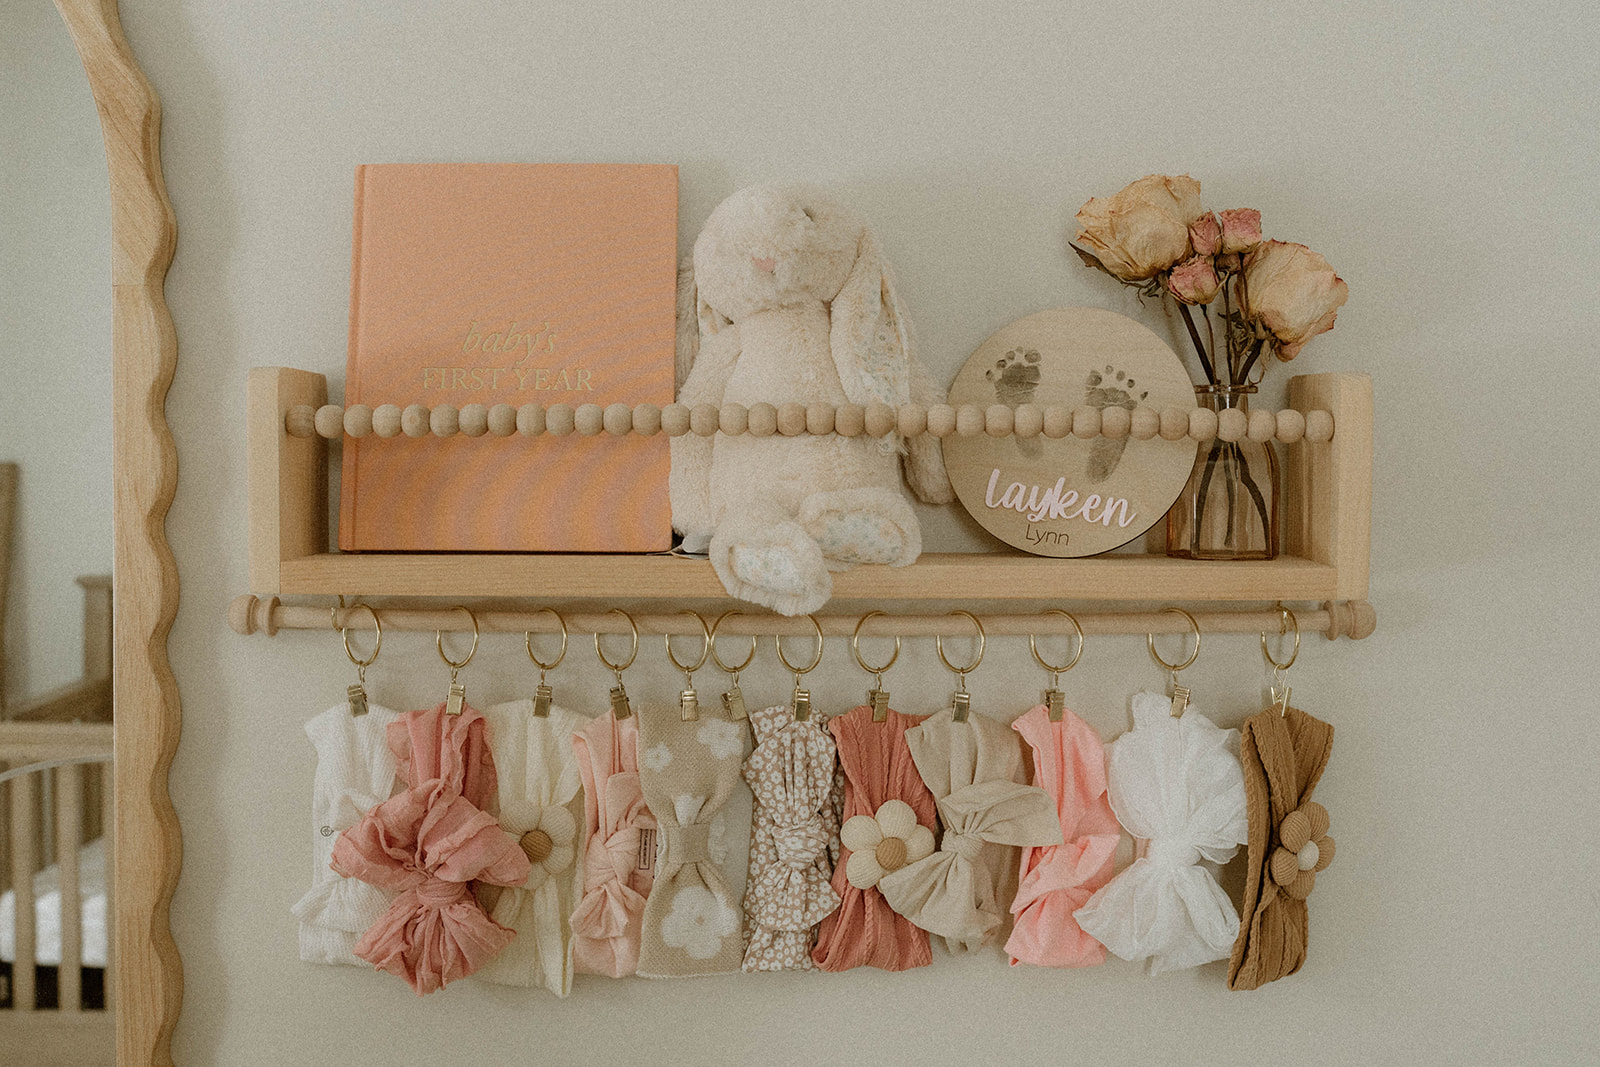
3. Use details to set the scene
Yes, you’ll be taking photos of you and your family members—but equally as important as your photos are your photos of the details. The ones that set the scene; that showcase the space you’ve so intentionally created with one another, where you spend your days living and loving.
These are the small but oh-so-important elements that will help tell the full story of your family, and of your life together: the window panes you look through as you sip your coffee every morning, the nursery decorations you spent hours putting up, the lamps you picked out for your living room at IKEA, even the shoes that line your entryway.
Sure, these mundane details may not seem “photo-worthy” right now. But trust me: each one helps paint the picture of your life, and will invite you to step right back into the moment when you flip through your photo album later on.
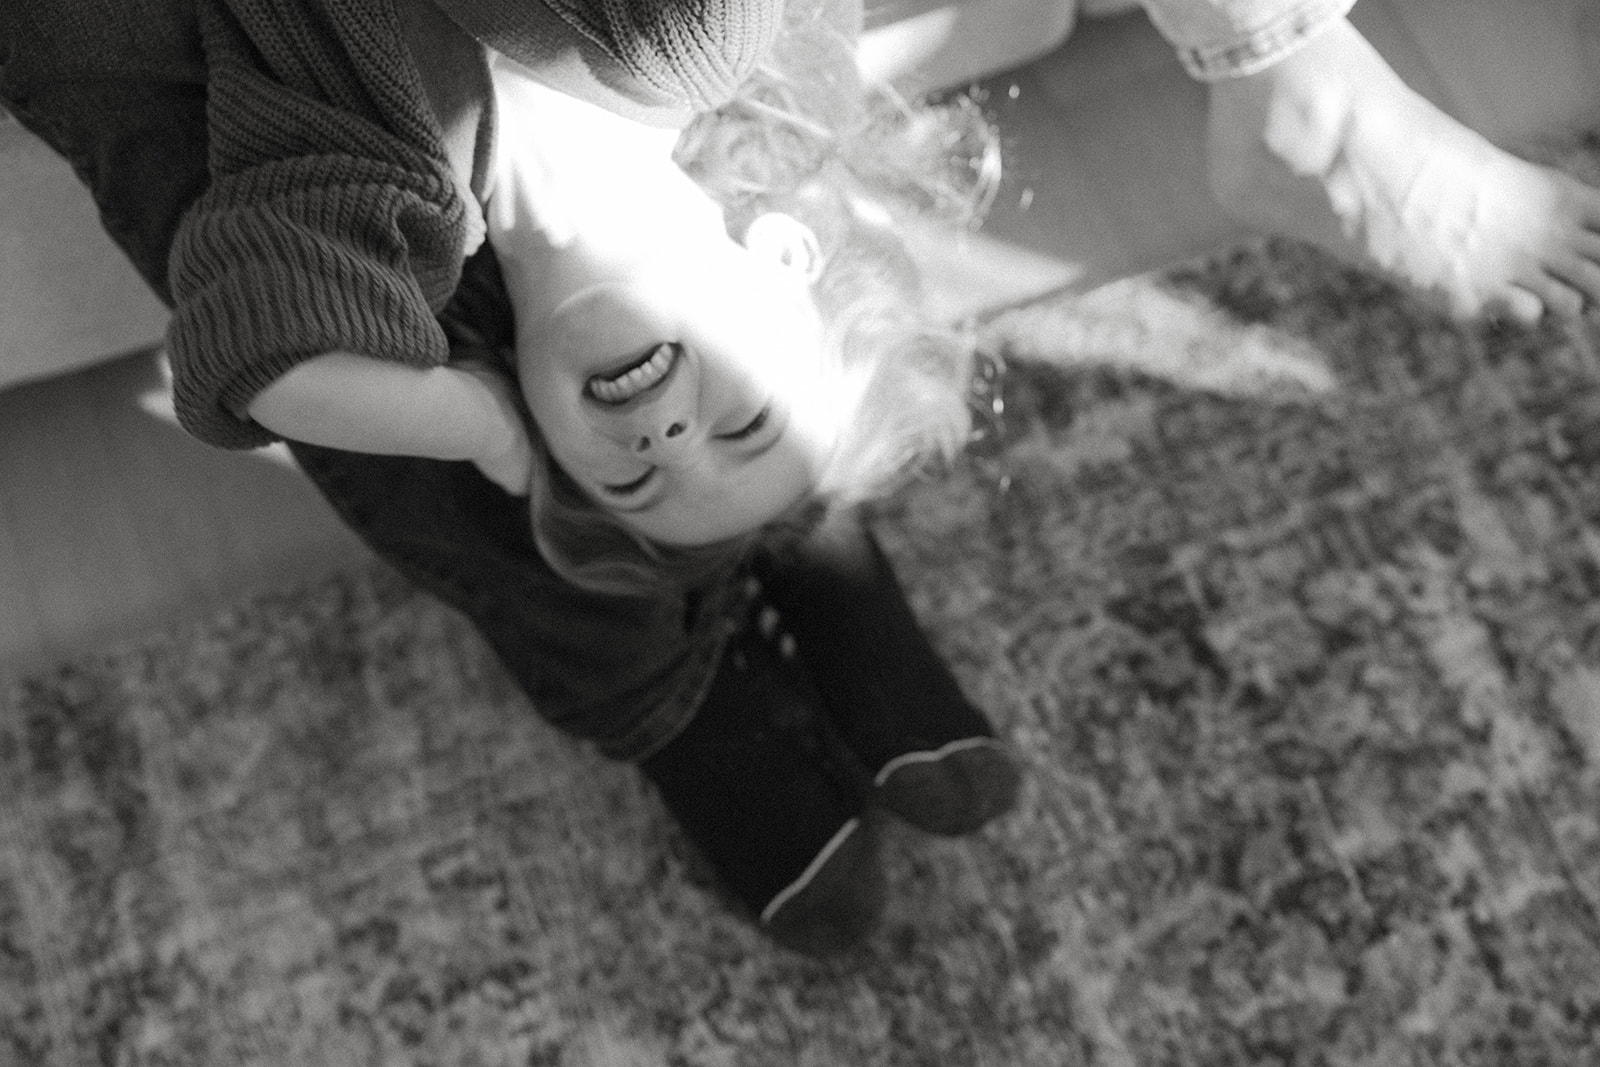
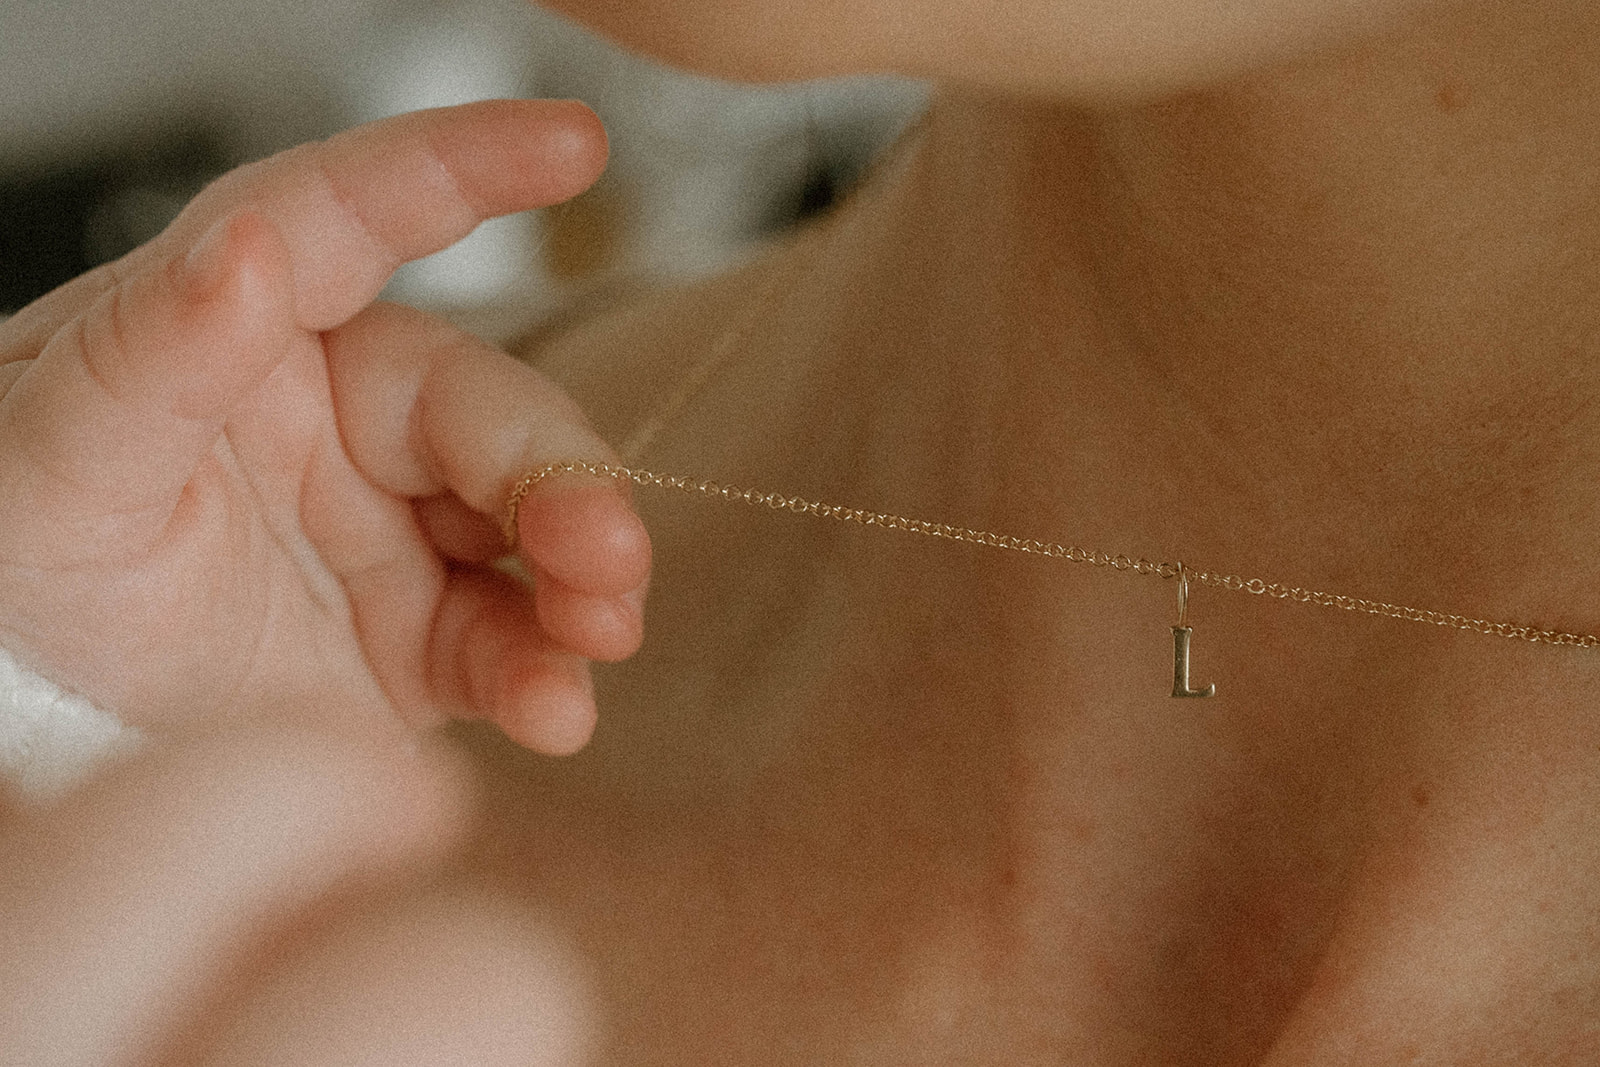
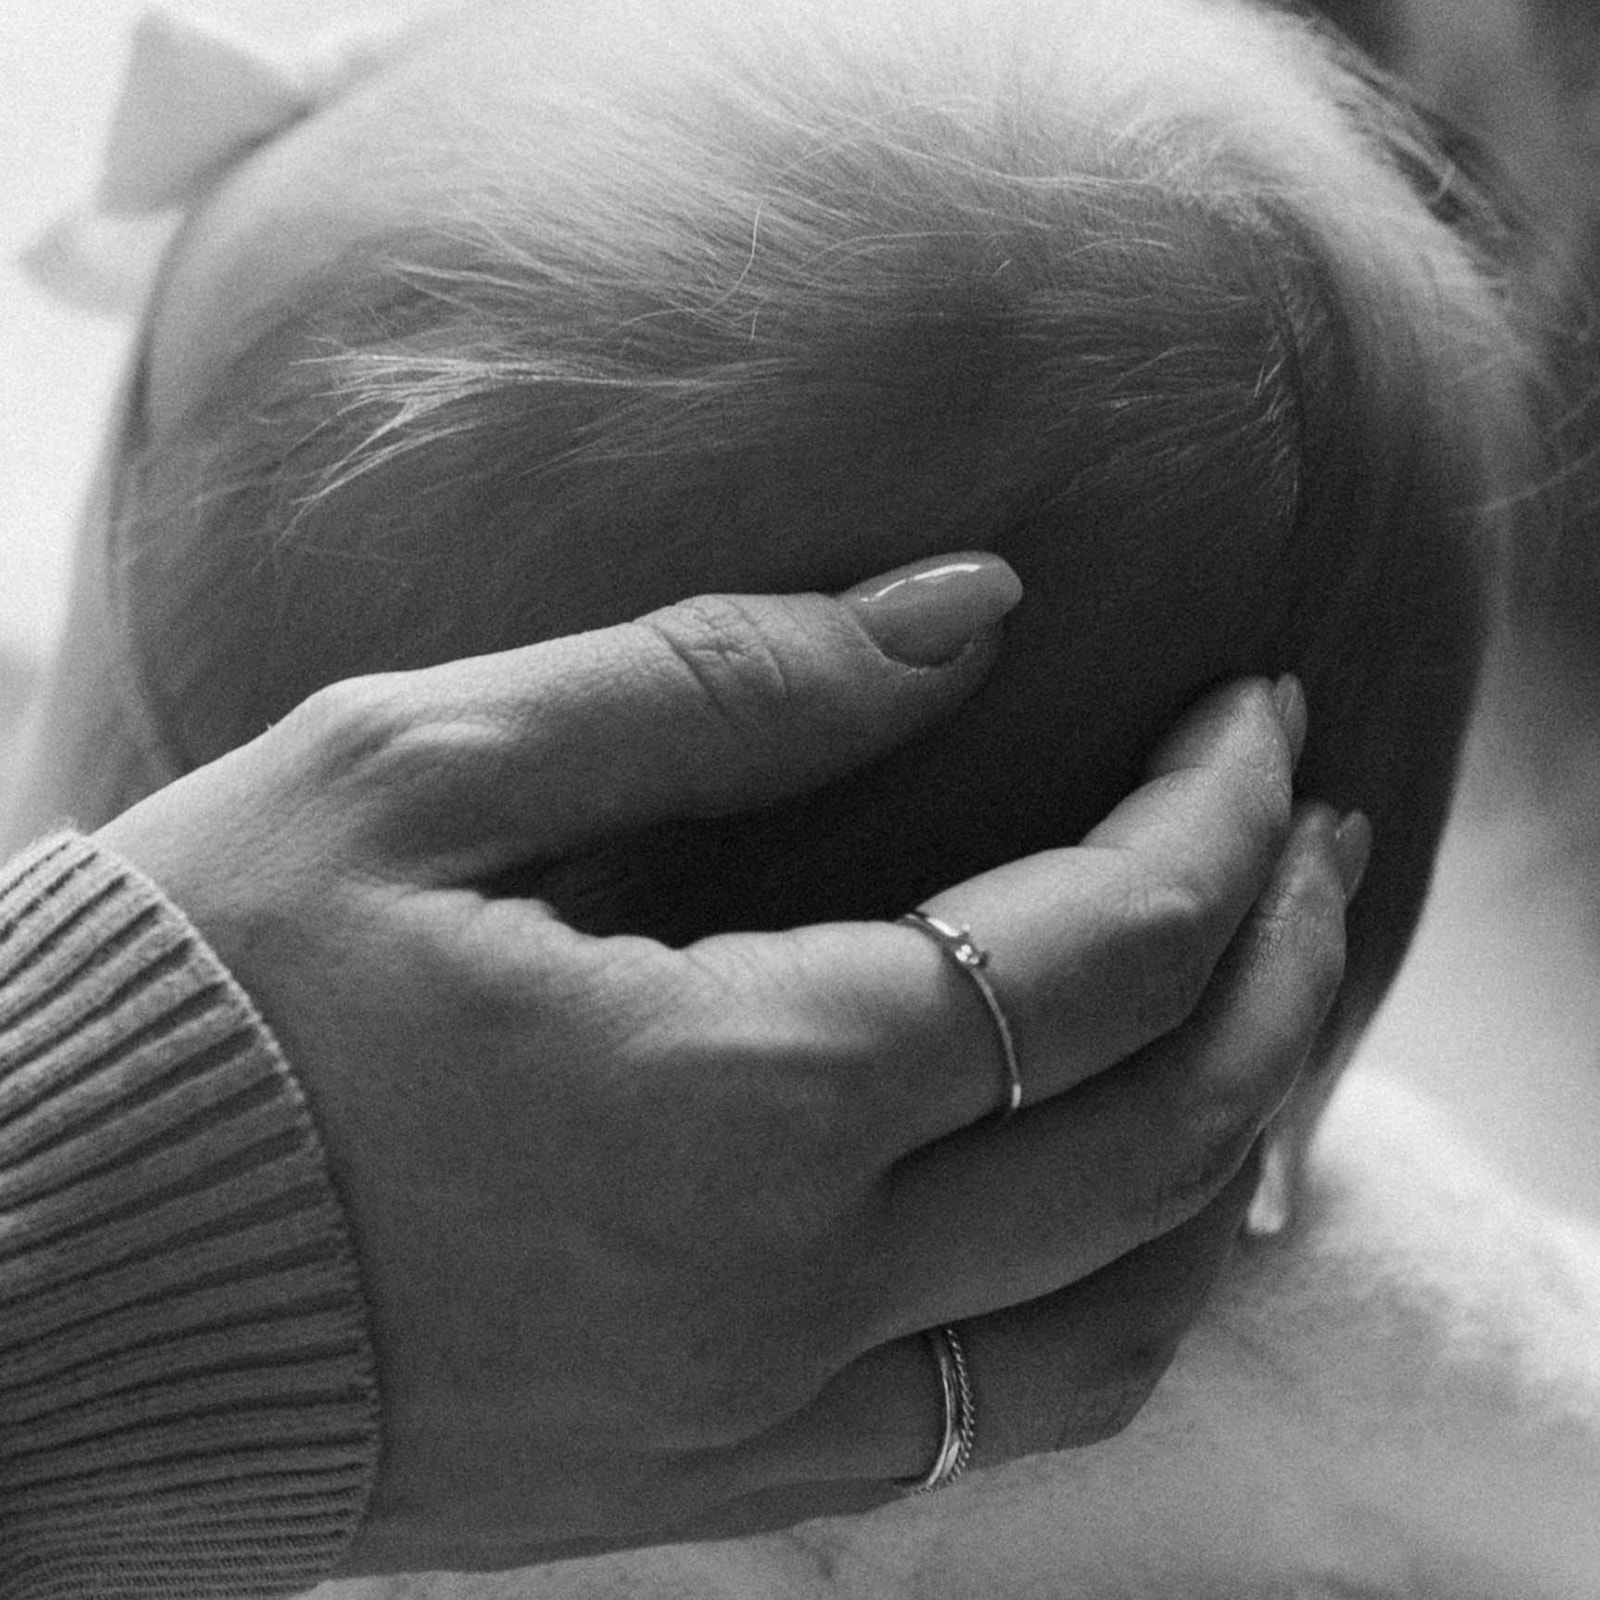
4. Seek out the in-between
Just as it’s important to set the scene by capturing the tiniest of details around you, it’s crucial to pay attention to the small, in-between moments in your interactions. The ones that might seem insignificant at the time, but you’ll wish you could experience all over again as time goes by: wrinkly hands grabbing at the charm on your necklace, delicate baby hairs blowing gently in the breeze, tiny toes curling as your littles giggle in the background.
It takes practice to notice these in-between touches, sounds, and sensations as they happen—and to capture them before they’re gone. But once you start to pay closer attention, it’s hard to stop watching, observing, listening for these fleeting moments that you can’t help but be wildly grateful for.
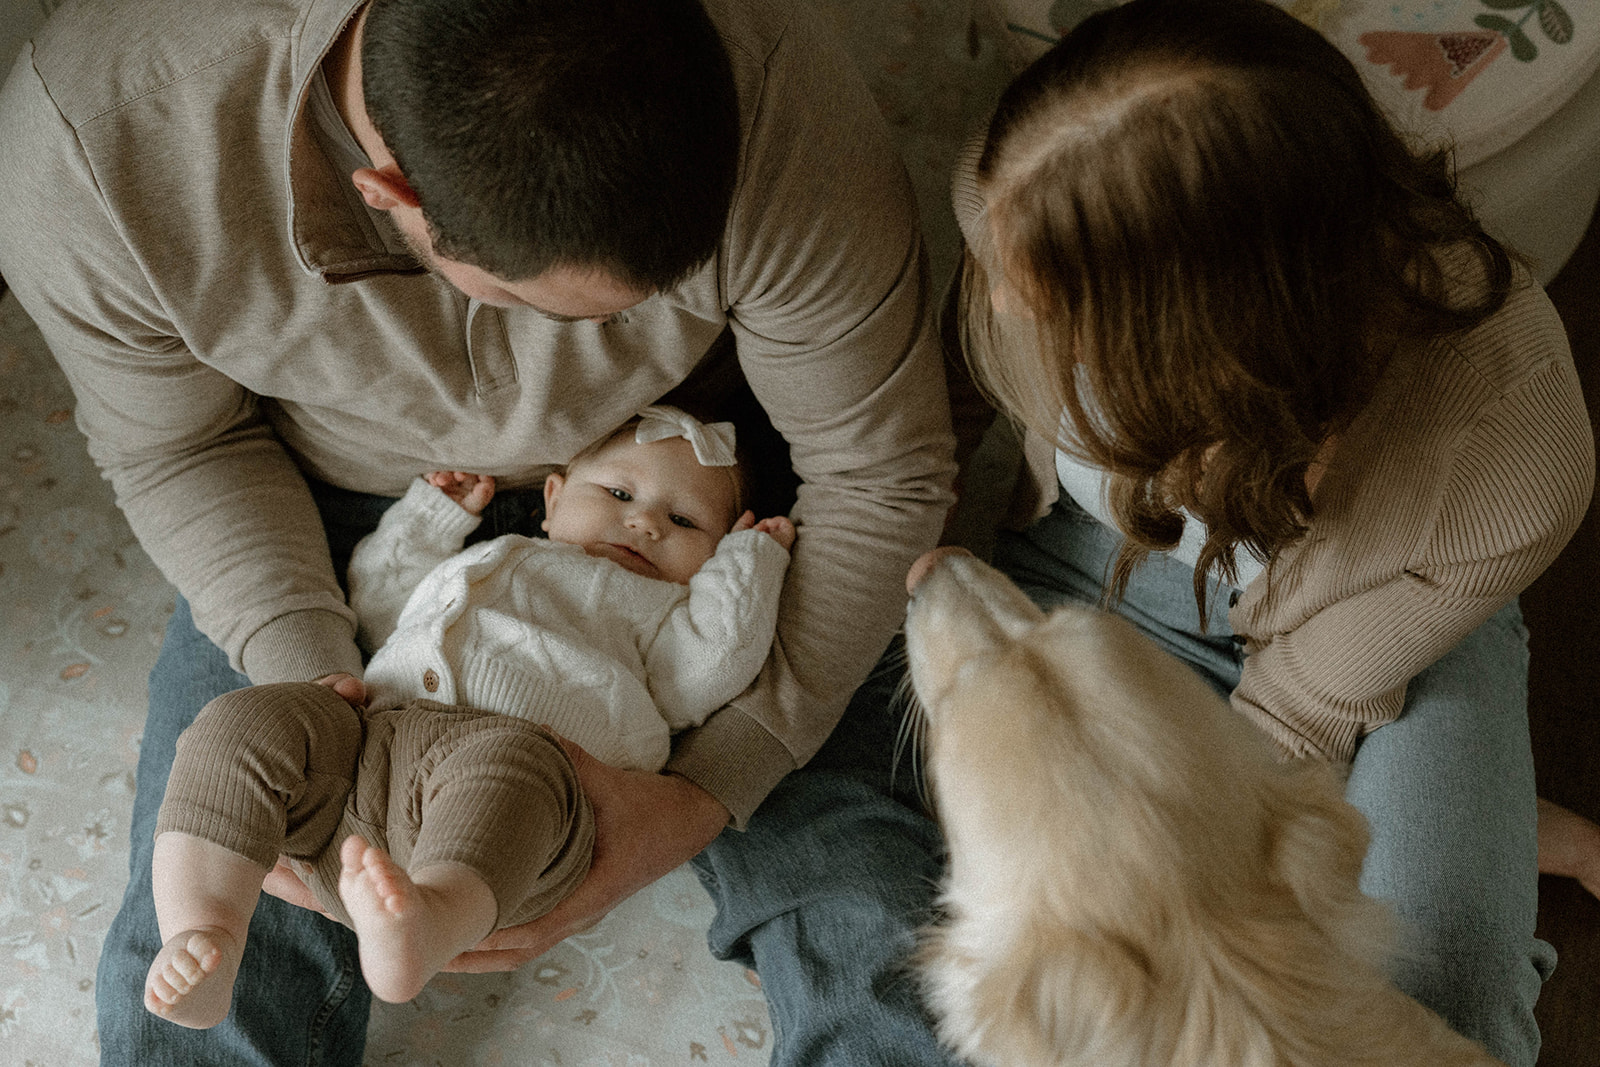
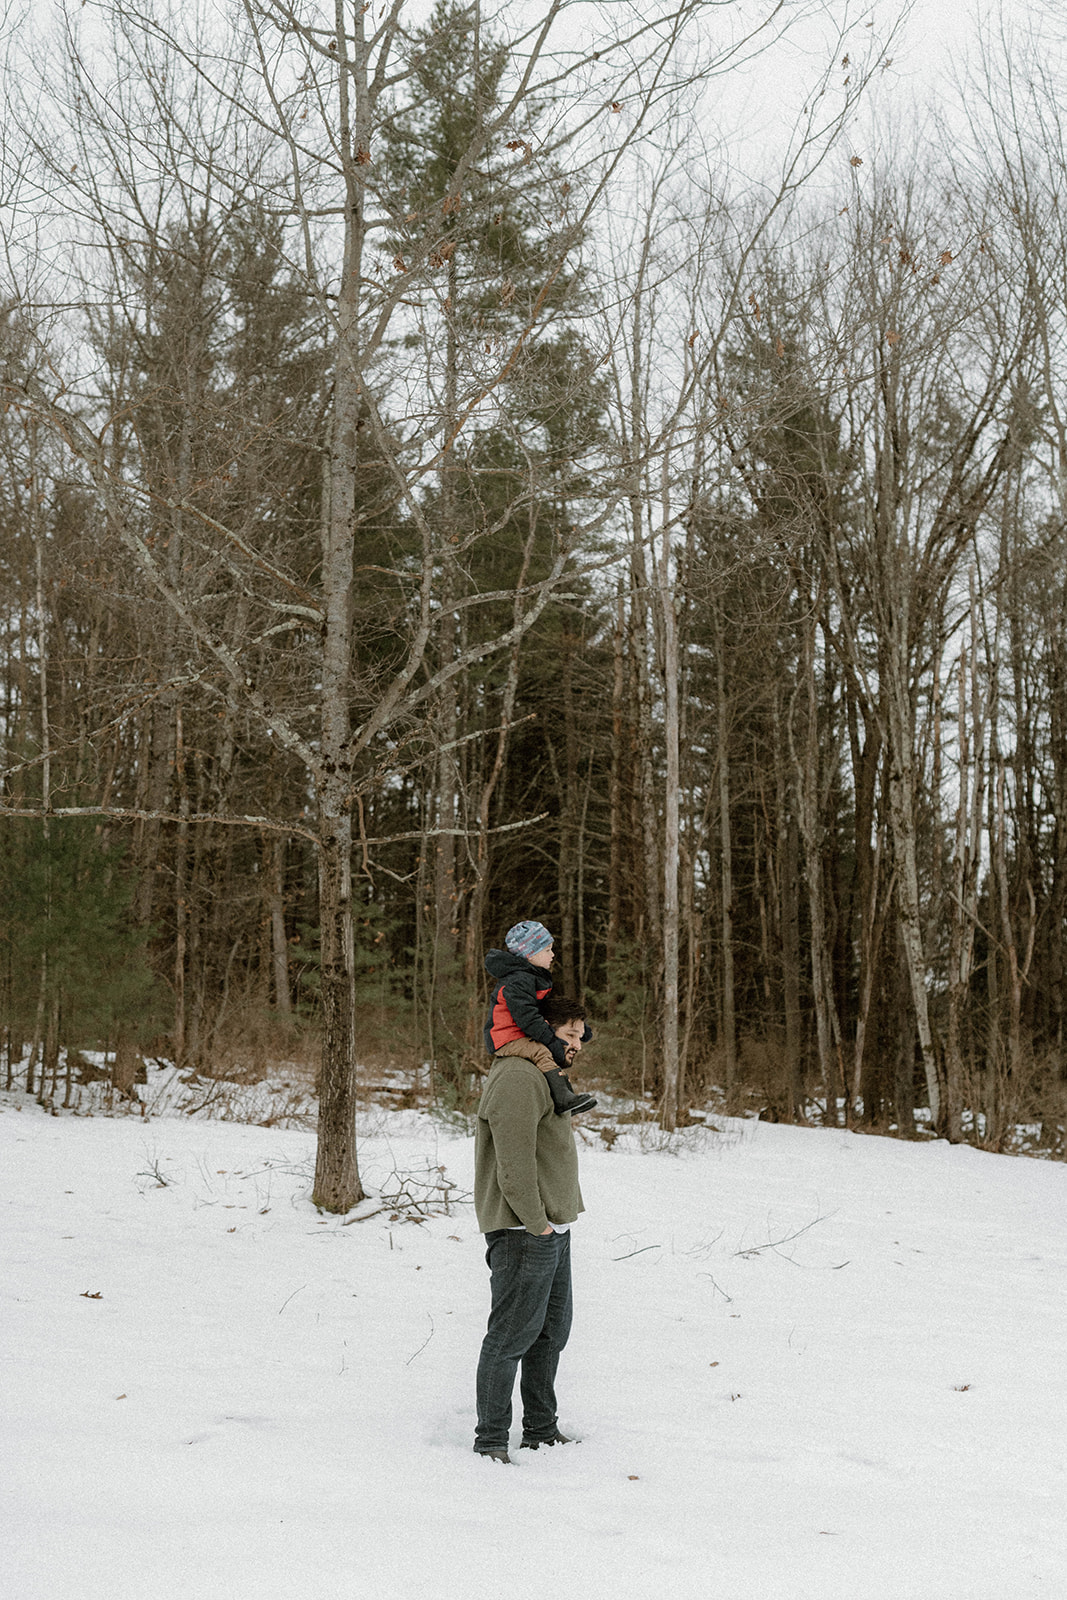
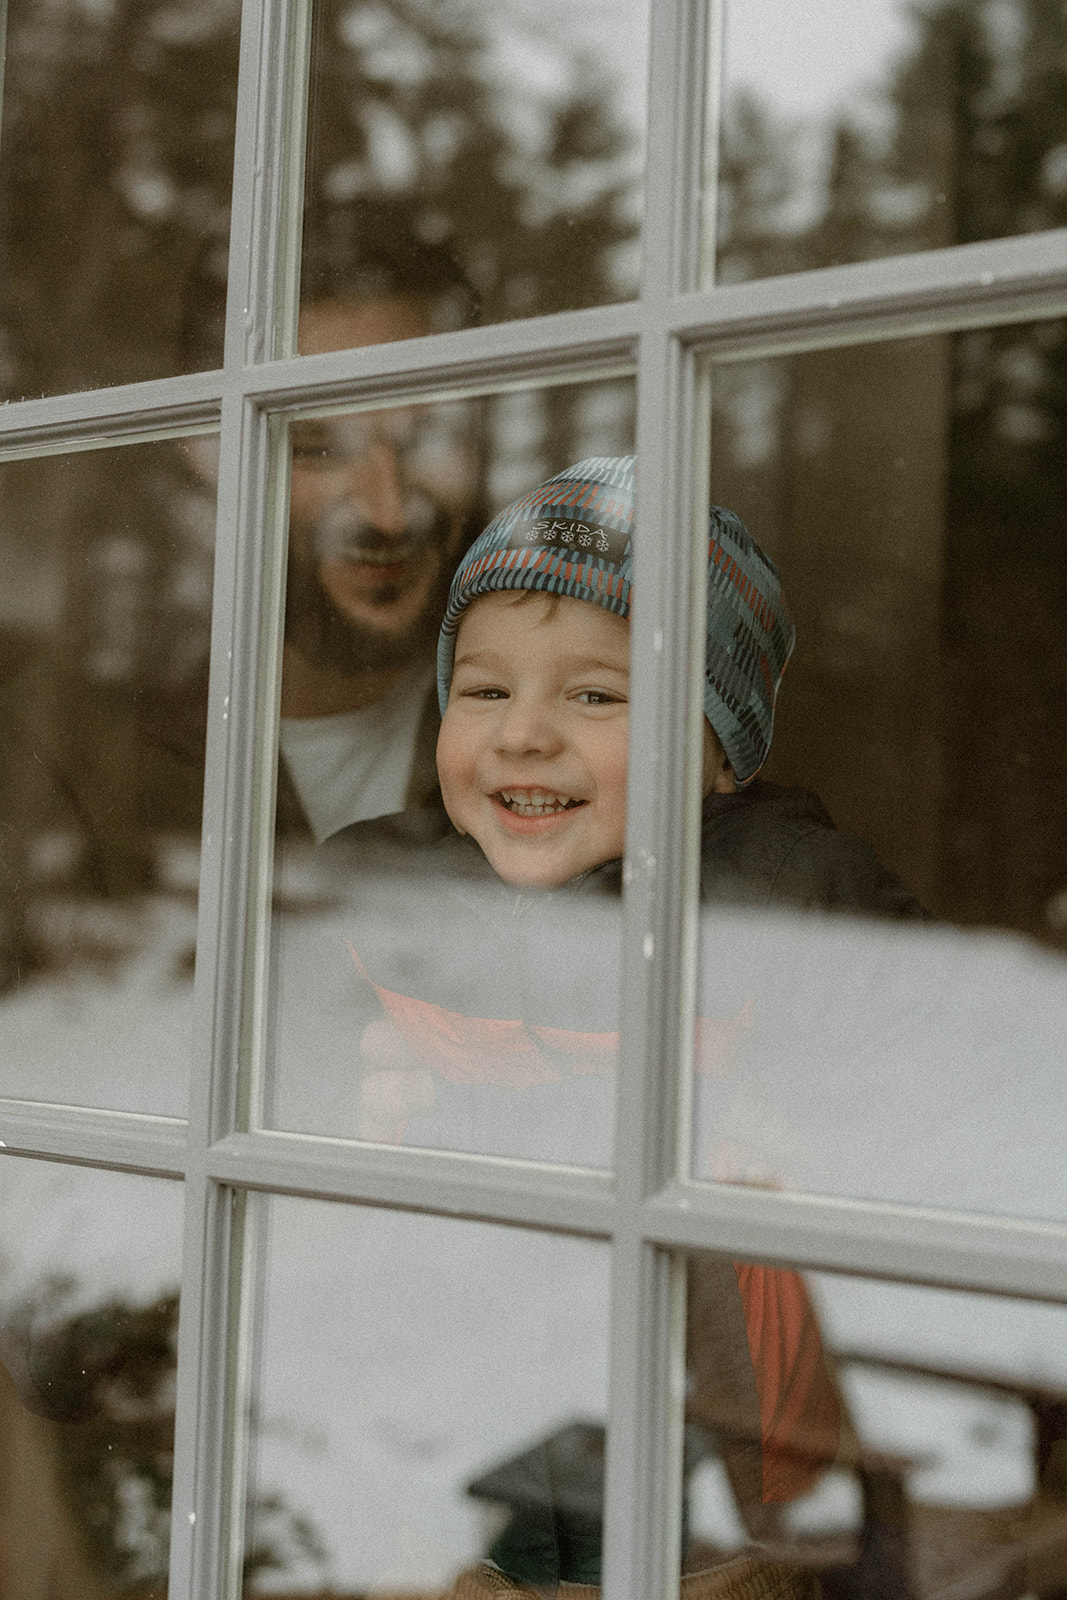
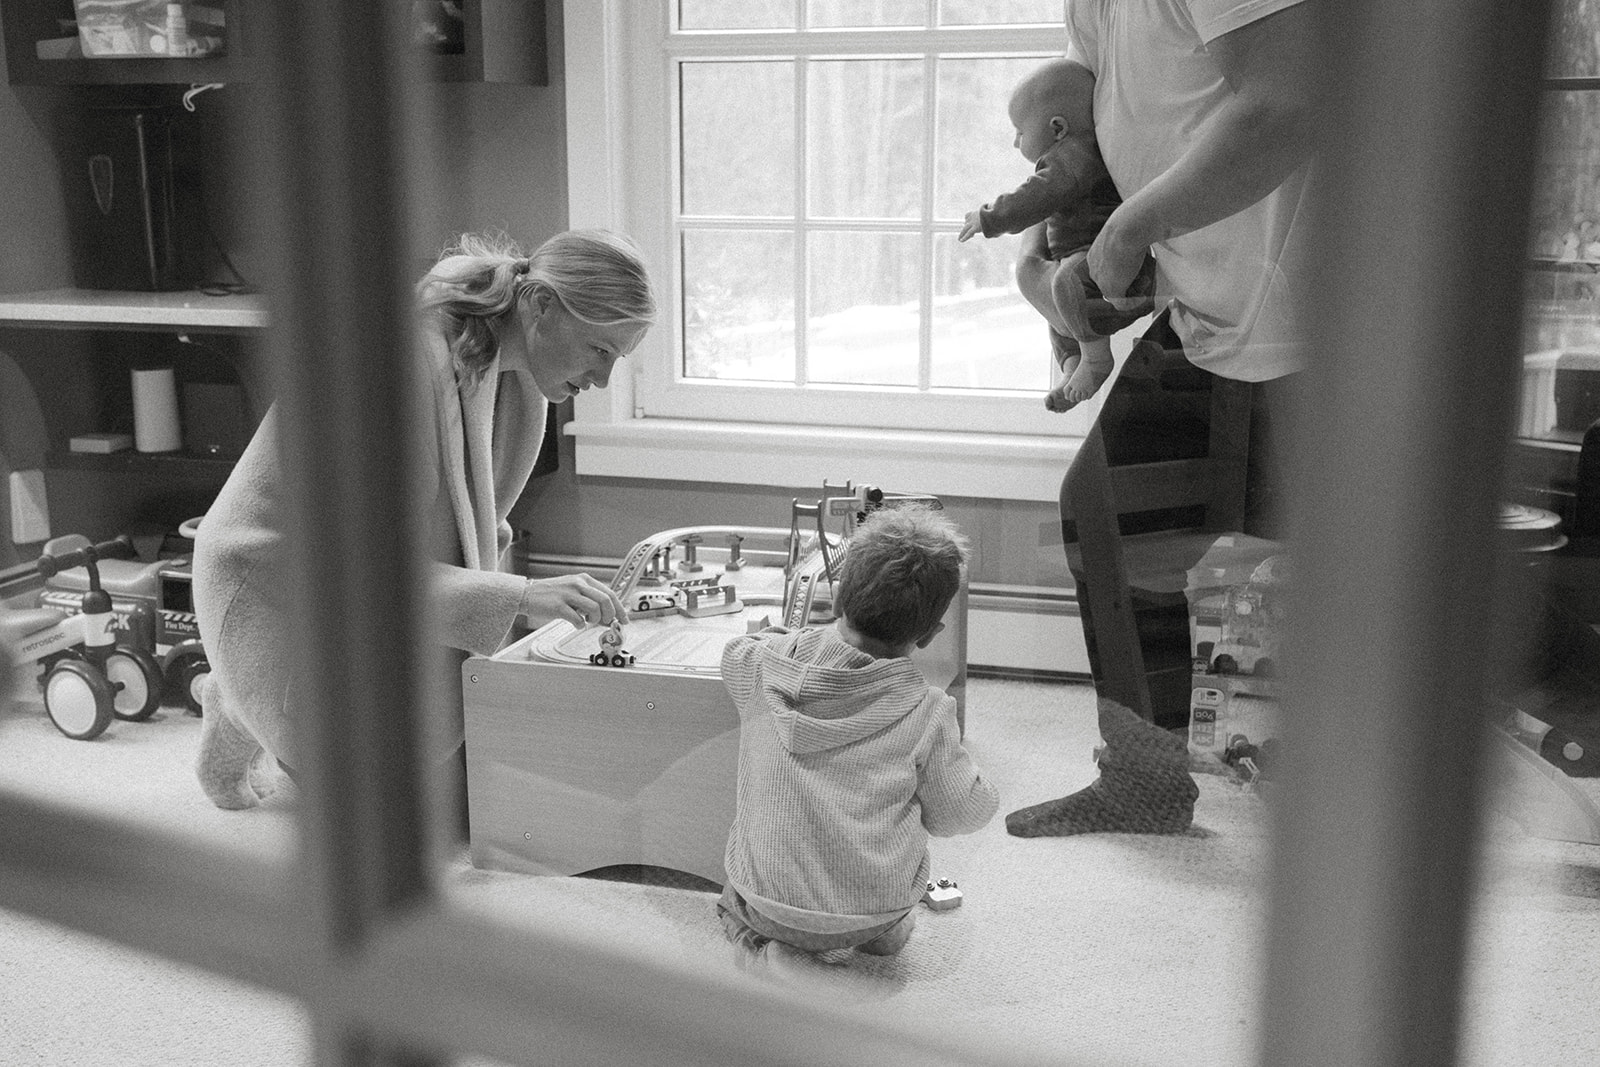
5. Look for different perspectives & angles
One of my top tips for getting more creative with your DIY family photos: find different perspectives to shoot from. Not only are multiple perspectives super fun and creative: they also help you tell a different story with every shot!
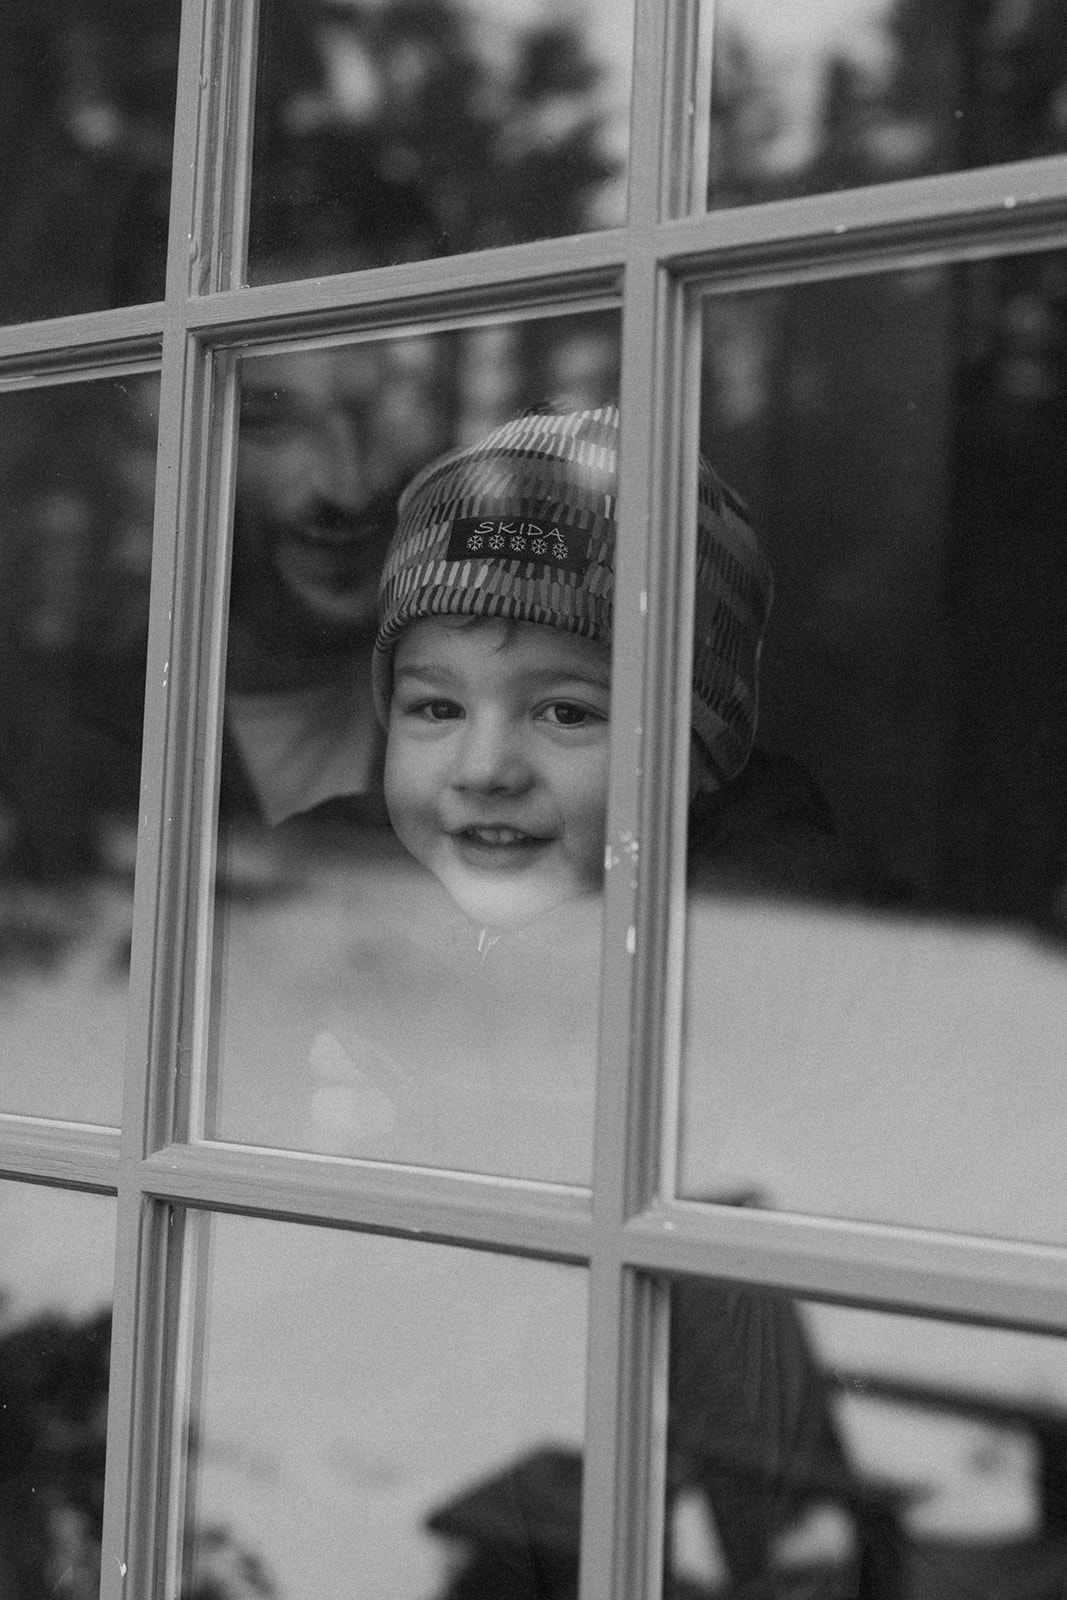
Instead of taking all of your photos from a traditional, front-facing angle where you’re cleanly positioned in the center of the shot, look around the room and see if there are any other views you could capture. This could mean shooting through the railing of your staircase to create an intimate, observant feel—as if you were a fly on the wall, quietly watching the people you love interact.
Or maybe you photograph your kiddos on the couch through the front window, as if you were just coming home from date night & take a moment to watch your sweet littles playing together inside with their babysitter, reflecting on how lucky you are.
Every perspective, and every angle, adds layers to the story of your family’s life—and also creates gorgeous, artistic variety in your final gallery.
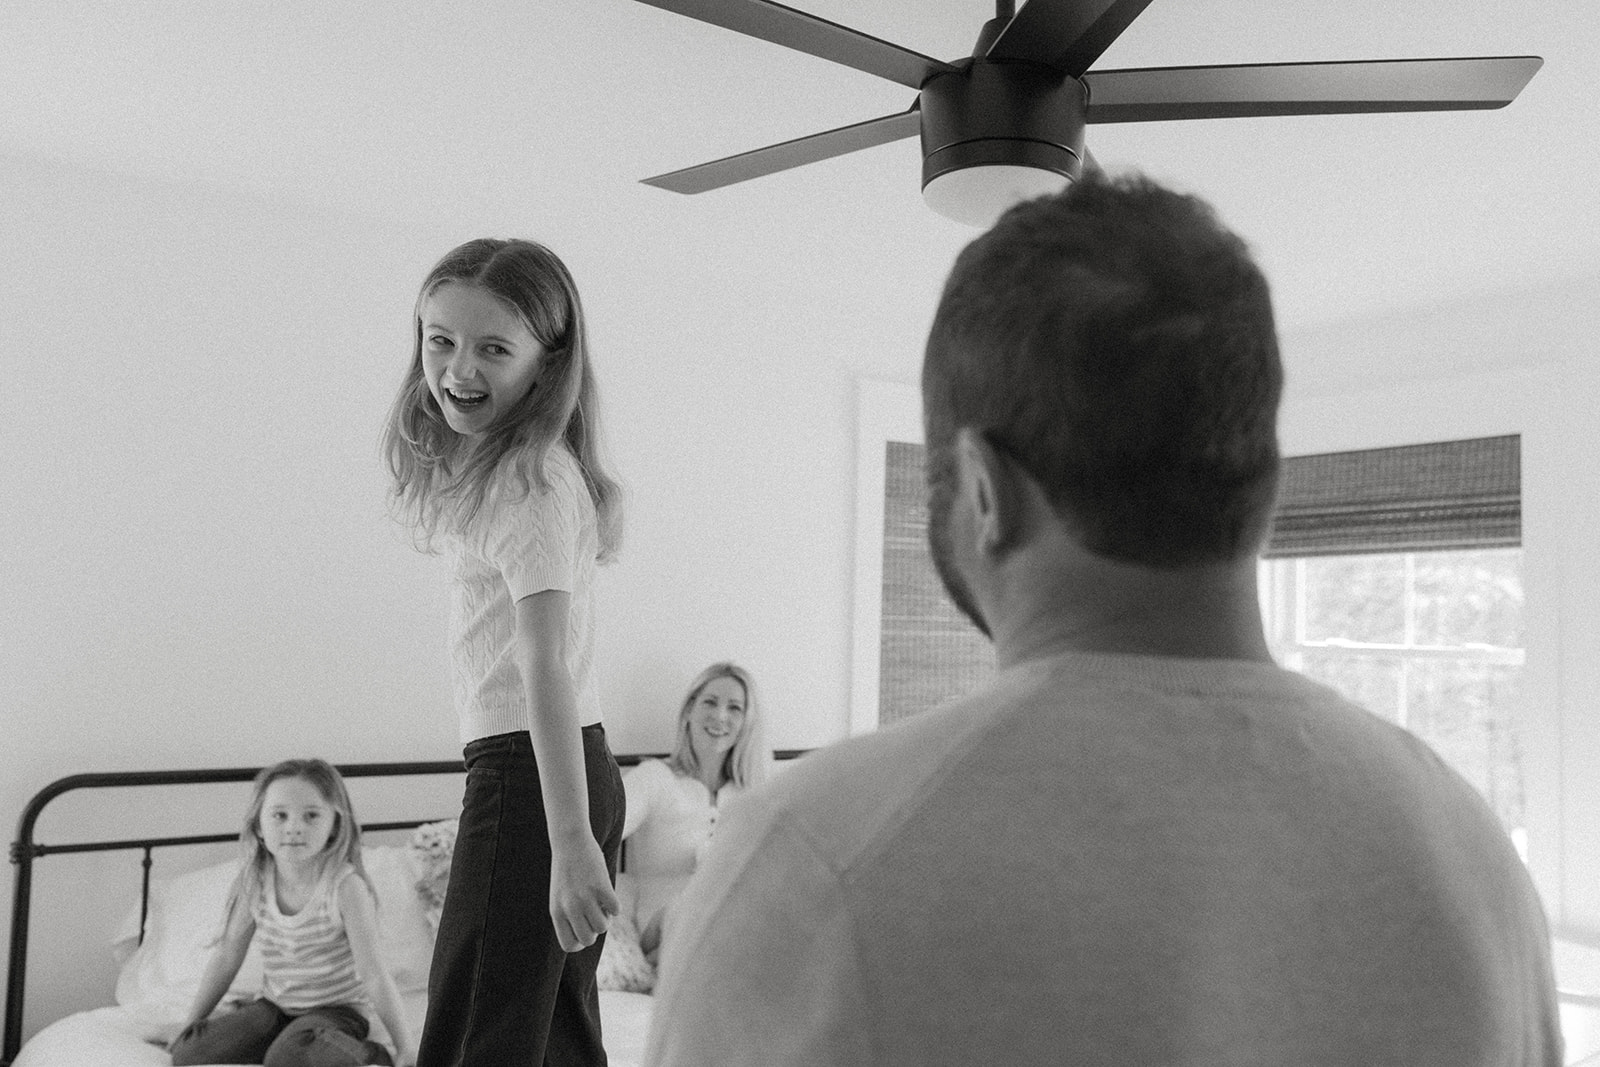
6. Turn it into family fun time
I’m telling you right now that taking family photos does NOT need to be boring, or feel like a chore. In fact, it shouldn’t! Instead of looking at your DIY family session as a task on your never-ending to-do list, look at it as an opportunity to have some intentional, fun family time. I know it can be challenging to find space in your busy lives to really slow down and be present together… so take advantage of this.
Block out a whole morning or afternoon to simply enjoy each other’s company and let loose, without an errand, appointment, or daycare run in sight. Soak it in as much as you can, because these are those good old days you’ll wish you could re-live years from now.

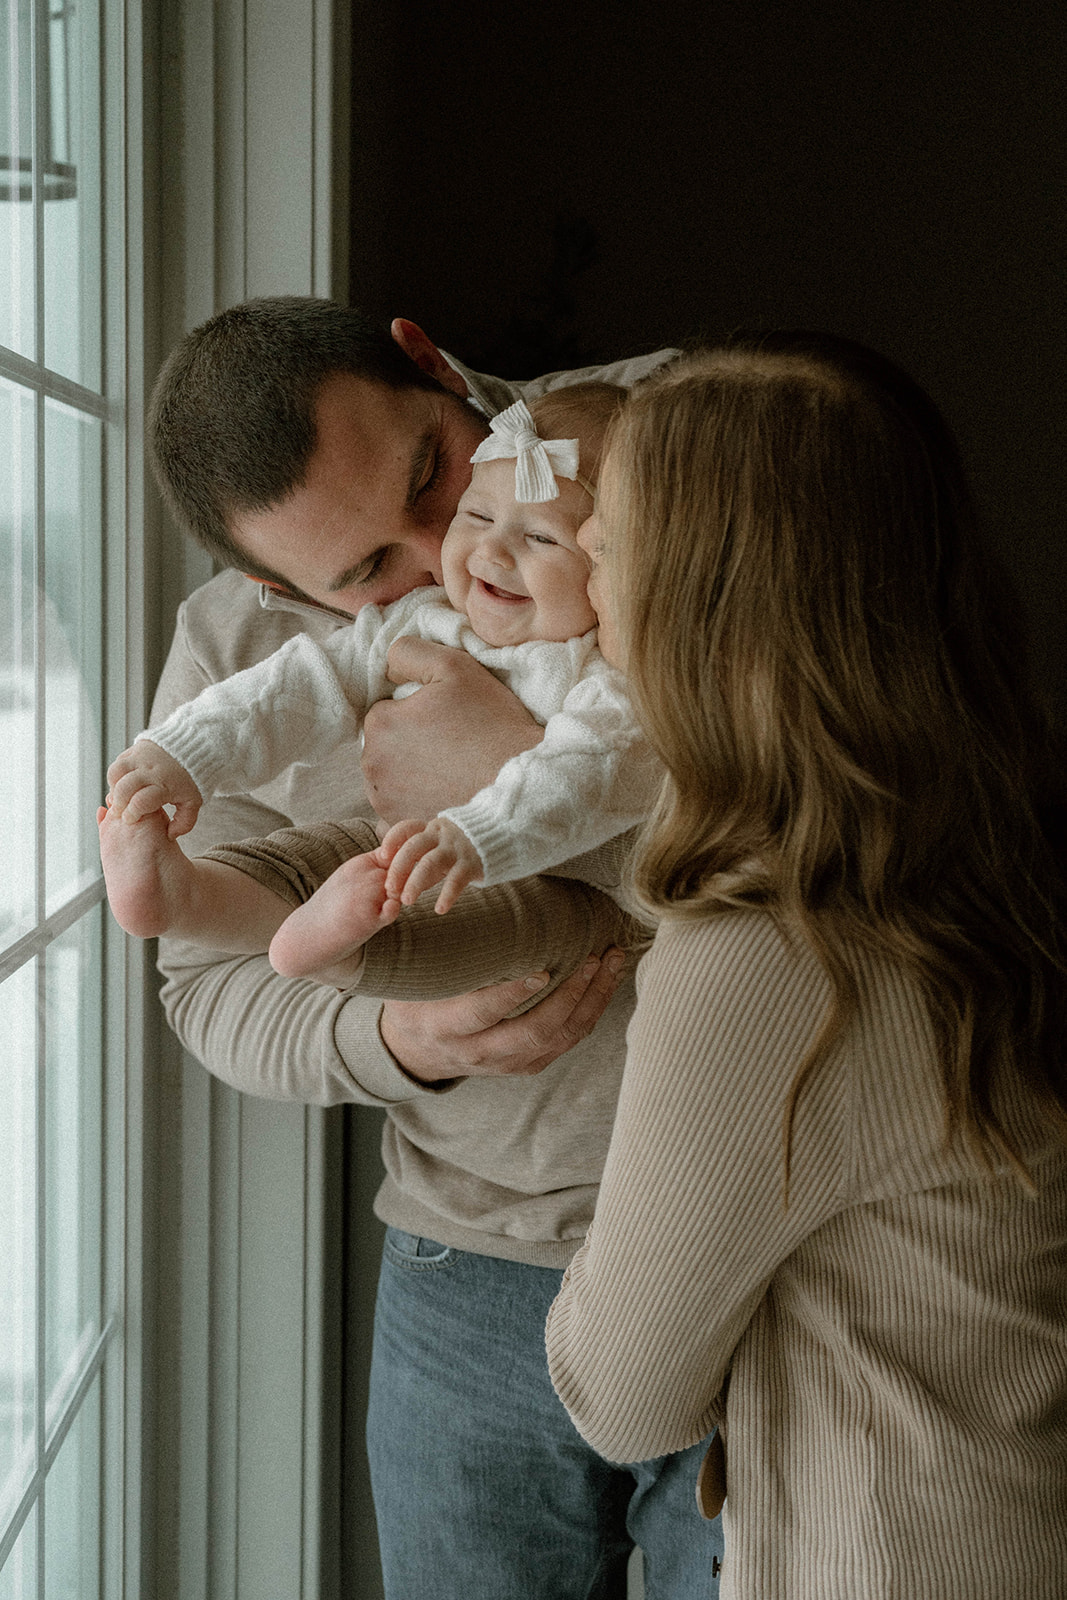
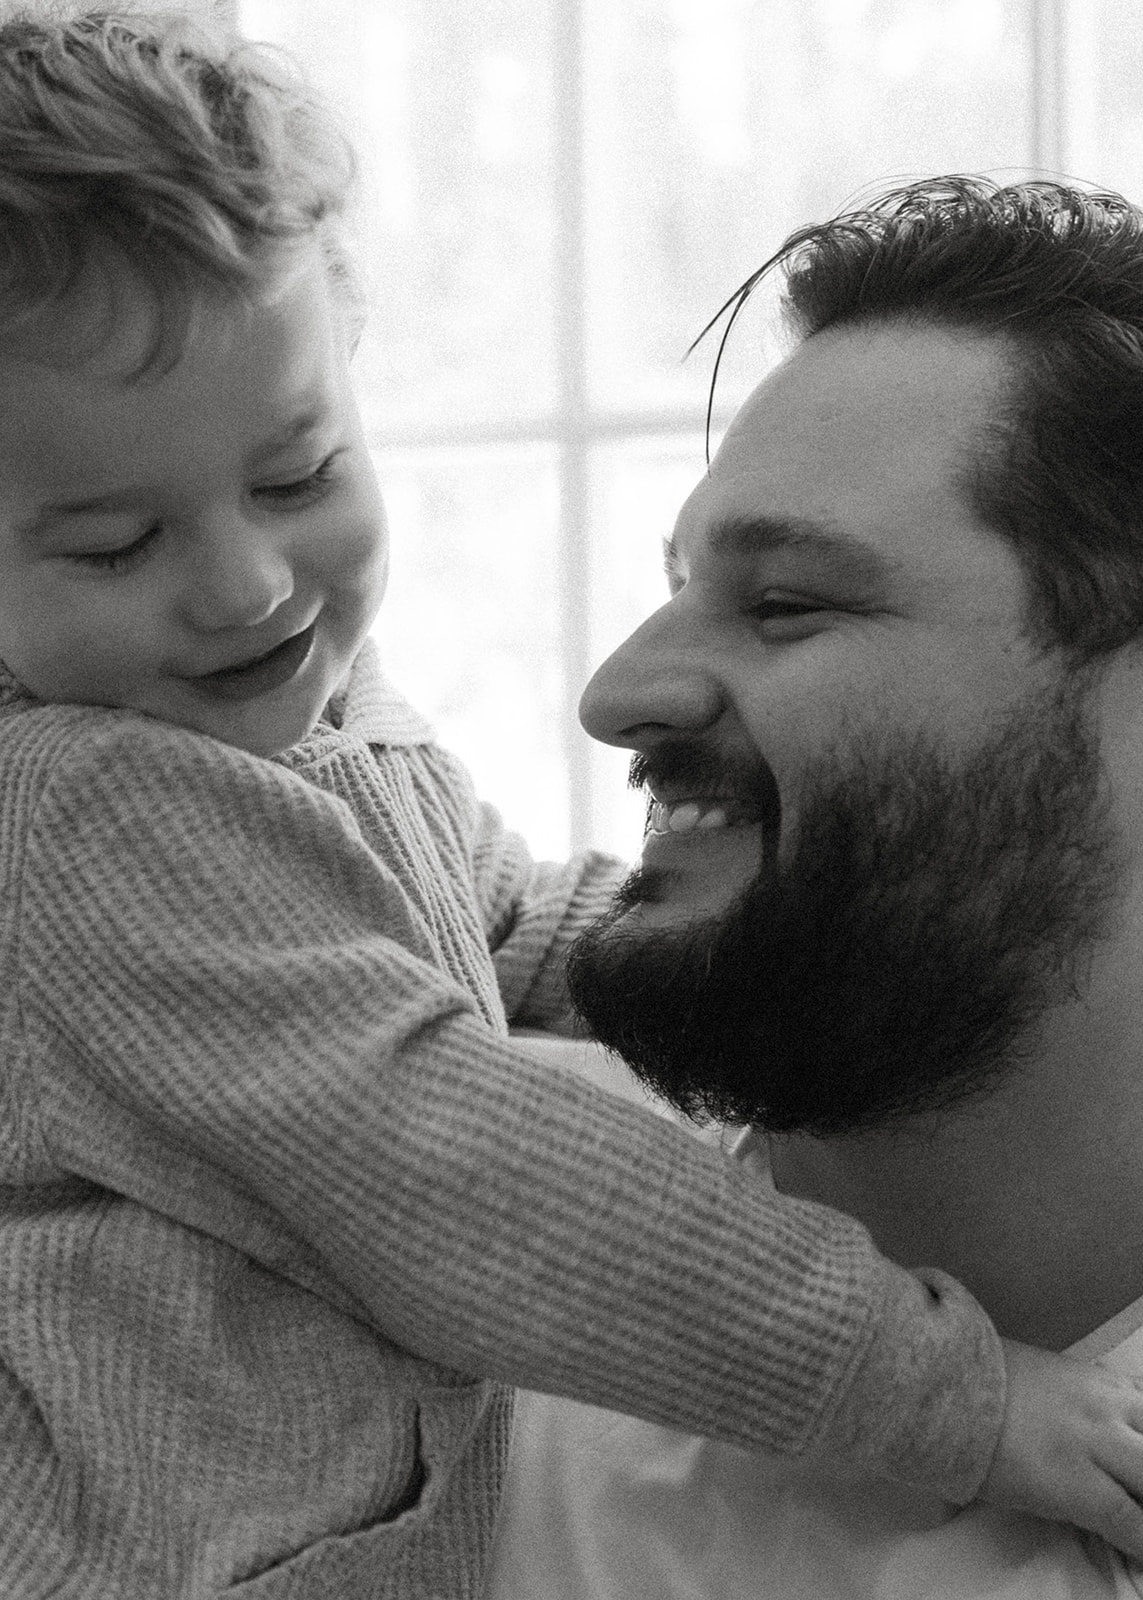
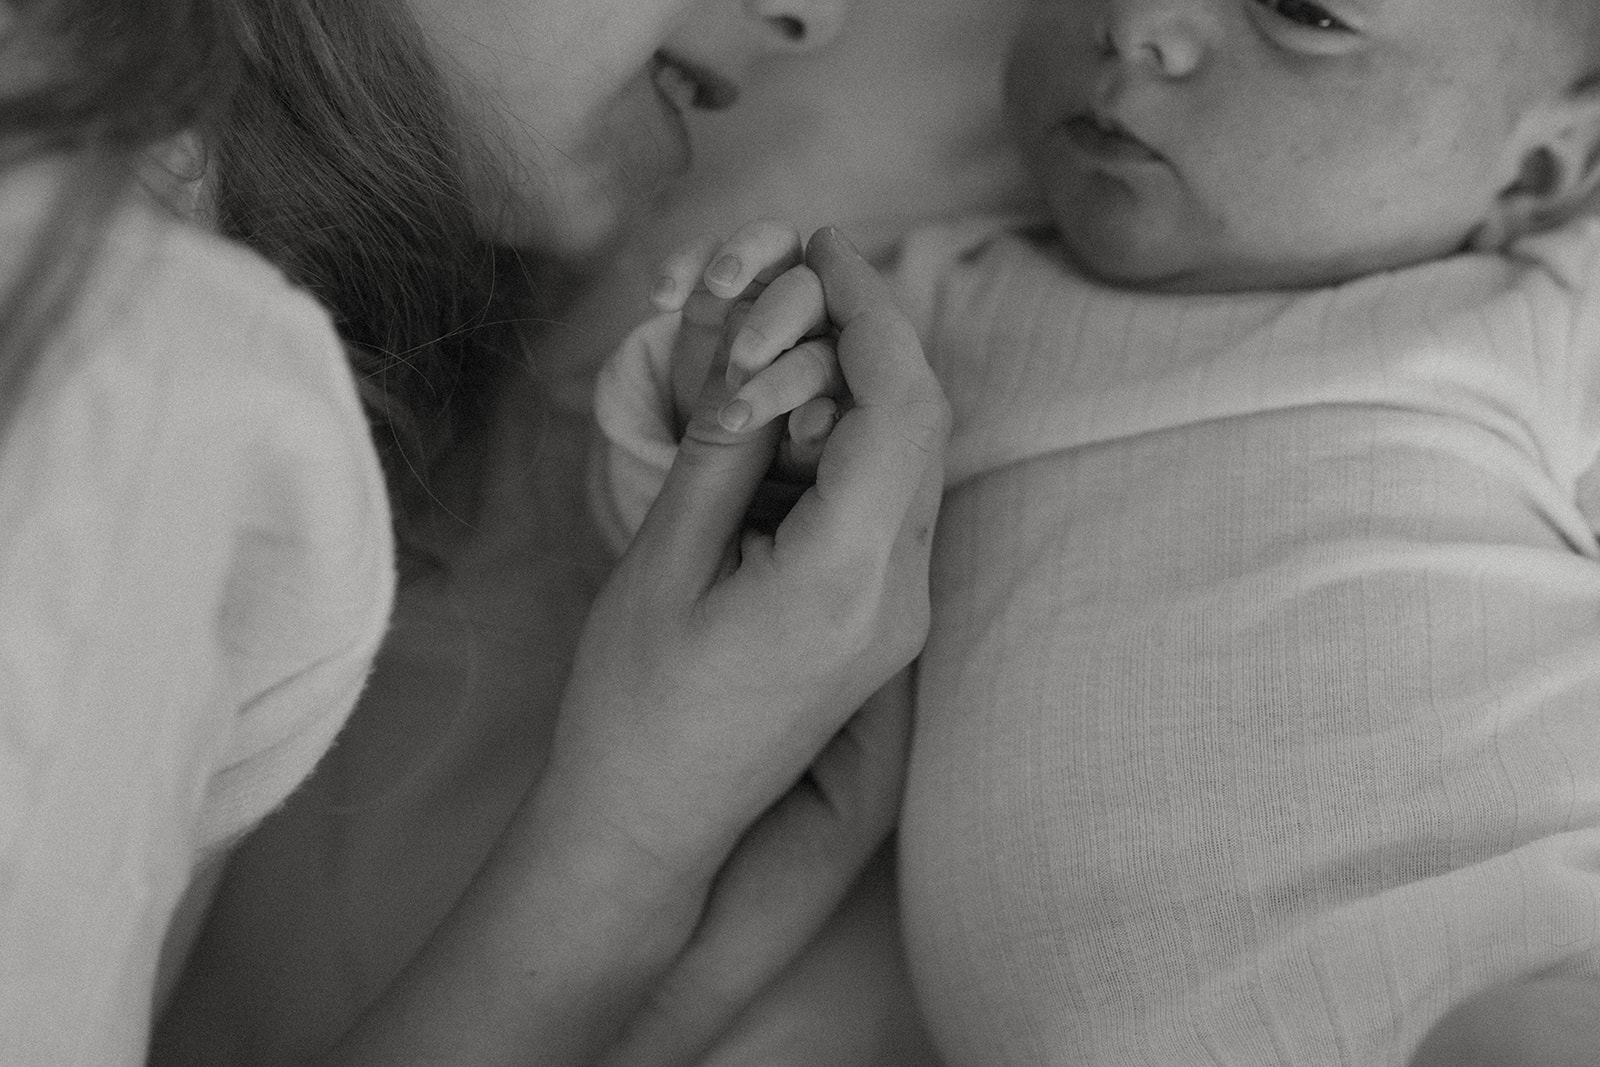
7. Don’t be afraid to get close
Next, don’t be afraid to get up-close and personal when you’re holding the camera! This is your family, after all 🙂 I am so obsessed with taking super close-up, narrow shots in my sessions to capture every little freaking detail.
I love to focus on one shape, item, or body part; for example, narrowing in on your kiddo’s nose, lips, or dimples. The way your fingers wrap around your partner’s like they were made for each other. The huge grin on older sister’s face when she gets to hold baby brother for the first time. I know we wish you could memorize every single detail of the people we love, to remember forever—but having photos of them is the next best thing.

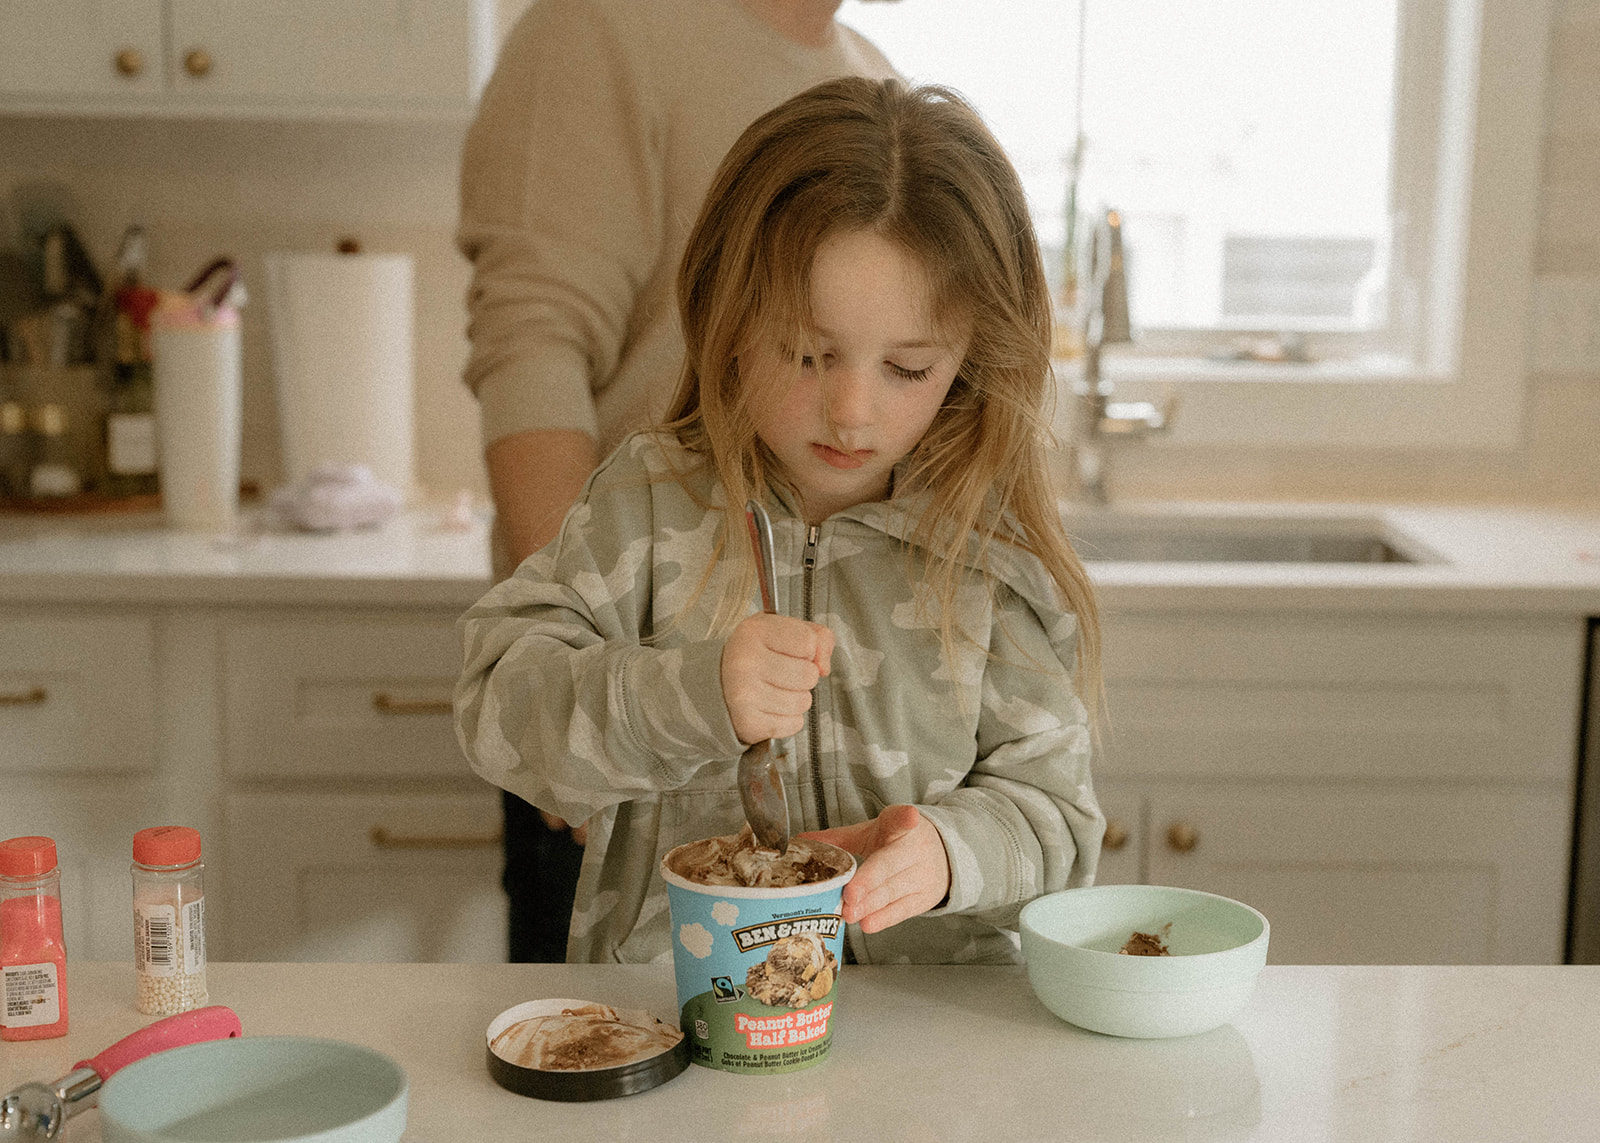
8. Capture the different scenes of your life
Finally, I want to encourage you to look at your DIY session not as just a photoshoot, but as an opportunity to capture a day in your family’s life.
This means documenting different scenes and settings that you move through on a daily basis: snapping pictures as you make coffee in the soft morning light of your kitchen, getting silly in the play room, running around the front yard, biking around the neighborhood… just let your interactions flow as they typically do, rather than forcing anything for the camera. Move through your home as you normally would, cook as you normally would, play as you normally would—and your photos will be everything you’ve dreamed of.
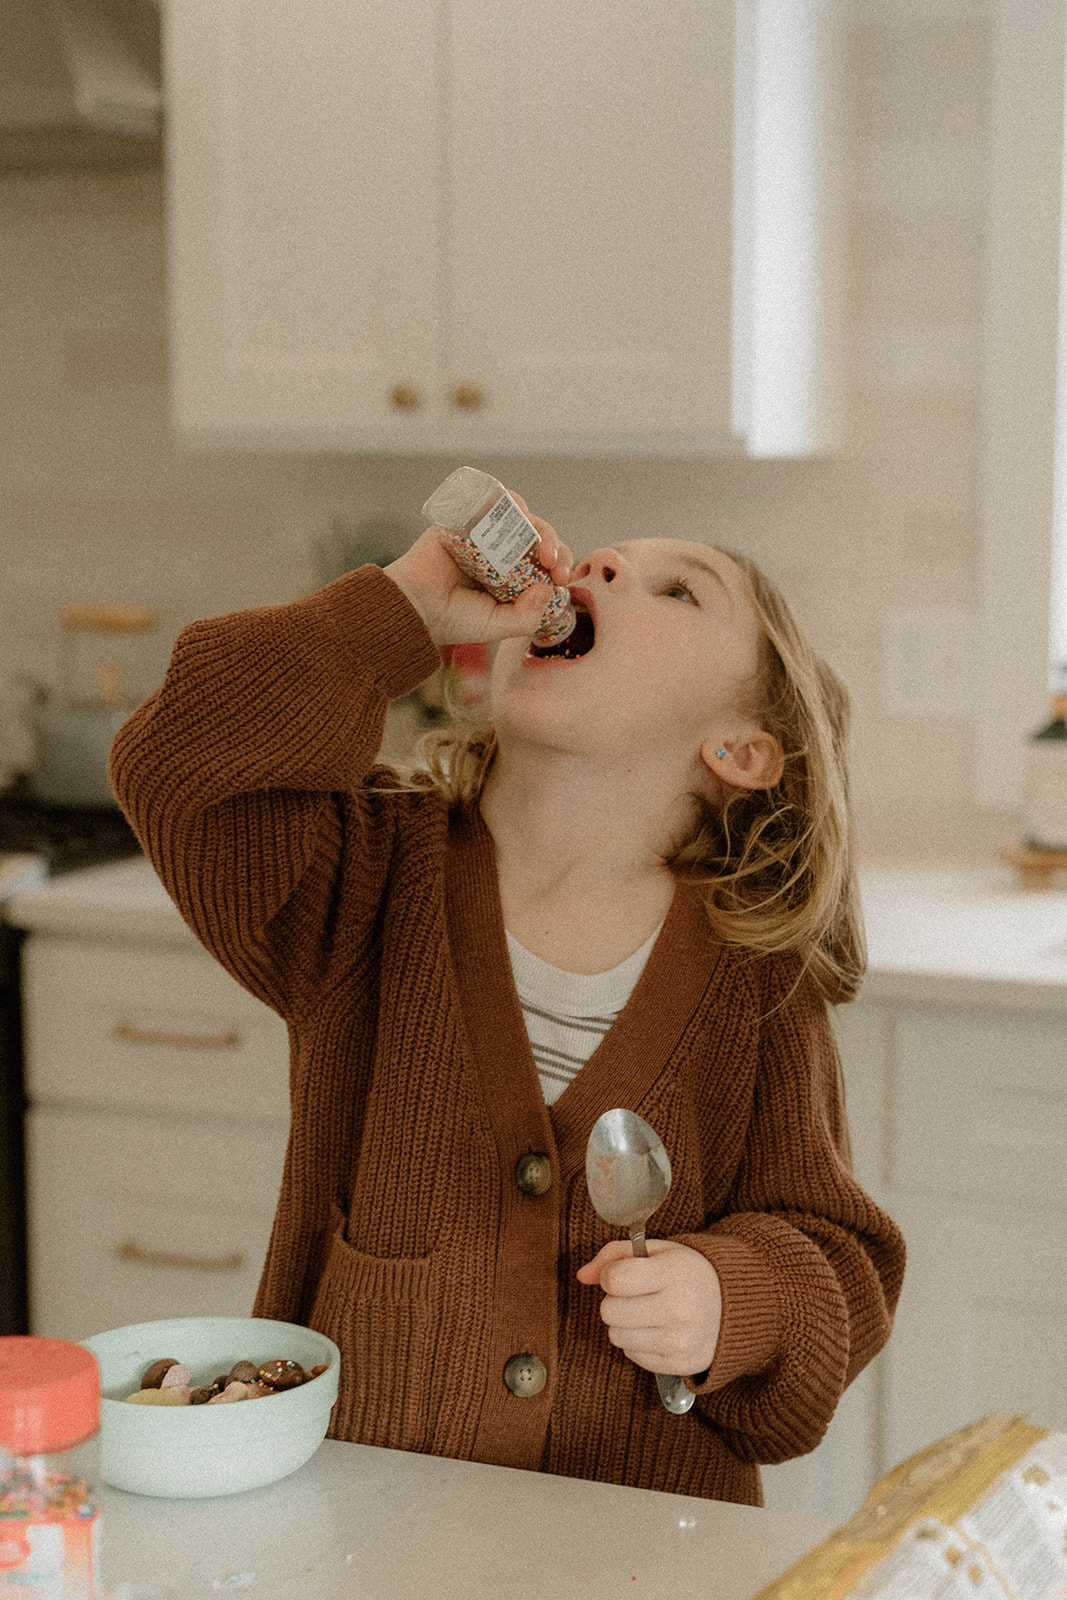
BONUS: Incorporate your everyday activities
Okay okay, just one more tip before you go! The BEST way to personalize your family photos and make them feel natural is to incorporate activities you love to do together. Maybe this means you bake cookies, build Lego sets, spend time in your garden, or read your kiddos’ favorite picture books!
If you need a little help getting started with this, here are 33 Unique Activities + Ideas for Your Vermont Family Photos that I absolutely love.
And if you decide you’d like to hand the camera off to a pro so you can sit back & embrace these dear moments stress-free, I’d love to take over for you.
Get in touch here, and together, we’ll capture the moments that quietly shape your life—the big, the small, and the beautifully, perfectly ordinary.


")


+ Show Comments
- Hide Comments
add a comment